Setting up a remote IoT environment using a Virtual Private Cloud (VPC) with SSH on a Raspberry Pi for free is a game-changer for hobbyists, developers, and tech enthusiasts alike. Whether you're managing smart home devices or building industrial IoT solutions, this setup offers unparalleled flexibility and cost savings. In this comprehensive guide, we'll walk you through everything you need to know to create a secure, scalable, and budget-friendly remote IoT system using VPC and SSH on a Raspberry Pi.
Remote IoT deployments often require secure communication channels, and SSH (Secure Shell) provides the perfect solution. By integrating this technology with a free VPC, you can ensure your Raspberry Pi projects are both accessible and secure, even when accessed from anywhere in the world.
This article is designed to provide expert insights into configuring and optimizing your Raspberry Pi for remote IoT operations. From setting up the VPC to securing your SSH connections, we'll cover all the essential steps to help you achieve a seamless and efficient setup.
Read also:Exploring Nikkis Journey In 90 Day Fiance A Compelling Love Story
Table of Contents
- Introduction
- Raspberry Pi Basics
- VPC Overview
- SSH Explained
- Free VPC Options
- Setting Up SSH
- Securing Your Connection
- Troubleshooting Tips
- Advanced Features
- Conclusion
Introduction
Remote IoT setups are becoming increasingly popular as more people and businesses explore the potential of connected devices. A Raspberry Pi, with its affordability and versatility, is an ideal platform for such projects. When paired with a free VPC and SSH, it becomes an even more powerful tool for managing remote IoT systems.
This guide will provide you with step-by-step instructions on how to set up your Raspberry Pi for remote IoT operations using SSH and a Virtual Private Cloud. We'll also explore the importance of security and how to troubleshoot common issues that may arise during the setup process.
Raspberry Pi Basics
Before diving into the specifics of setting up a remote IoT environment, let's first understand what makes the Raspberry Pi such a popular choice among tech enthusiasts.
Why Choose Raspberry Pi?
- Cost-effective: Raspberry Pi models are available at affordable prices, making them accessible to hobbyists and professionals alike.
- Versatile: With various models and accessories available, Raspberry Pi can be tailored to meet the needs of different projects.
- Community support: A large and active community provides extensive resources, tutorials, and forums for troubleshooting and learning.
Choosing the Right Model
When selecting a Raspberry Pi for your remote IoT project, consider factors such as processing power, memory, and connectivity options. The Raspberry Pi 4 Model B is a popular choice due to its robust performance and compatibility with modern software.
VPC Overview
A Virtual Private Cloud (VPC) is a private network environment within a cloud provider's infrastructure. It allows users to create isolated networks for their applications and services, ensuring security and scalability.
Advantages of Using VPC
- Isolation: VPCs provide a secure, isolated environment for your applications, protecting them from unauthorized access.
- Scalability: Easily scale your resources up or down based on your project's requirements.
- Cost-effective: Many cloud providers offer free tiers for VPC, making it an affordable option for remote IoT setups.
Free VPC Options
Several cloud providers offer free VPC options, including Amazon Web Services (AWS), Google Cloud Platform (GCP), and Microsoft Azure. Each platform has its own set of features and limitations, so it's important to evaluate them based on your specific needs.
Read also:Bolo Yeung The Iconic Martial Artist Who Defined A Generation
SSH Explained
SSH (Secure Shell) is a network protocol that allows users to securely access and manage remote devices over an encrypted connection. It is widely used in IoT projects due to its reliability and security features.
Key Features of SSH
- Encryption: SSH encrypts all data transmitted between the client and server, ensuring secure communication.
- Authentication: Users can authenticate using passwords or public key cryptography, adding an extra layer of security.
- Portability: SSH can be used on various platforms, including Linux, macOS, and Windows.
Free VPC Options
As mentioned earlier, several cloud providers offer free VPC options. Below is a brief overview of the most popular ones:
Amazon Web Services (AWS)
AWS offers a free tier for its VPC service, which includes basic features such as subnets, route tables, and security groups. This makes it an excellent choice for beginners and small-scale projects.
Google Cloud Platform (GCP)
GCP provides a free tier for its VPC network, allowing users to create up to five custom networks. It also includes features like firewall rules and load balancing, making it suitable for more advanced projects.
Microsoft Azure
Azure offers a free VPC option with basic features, including virtual networks and subnets. While it may not be as feature-rich as AWS or GCP, it is still a viable option for those looking to experiment with VPC setups.
Setting Up SSH
Setting up SSH on your Raspberry Pi involves a few straightforward steps. Follow the instructions below to ensure a secure and reliable connection.
Step 1: Enable SSH
To enable SSH on your Raspberry Pi, you can either use the Raspberry Pi Configuration tool or modify the configuration file directly.
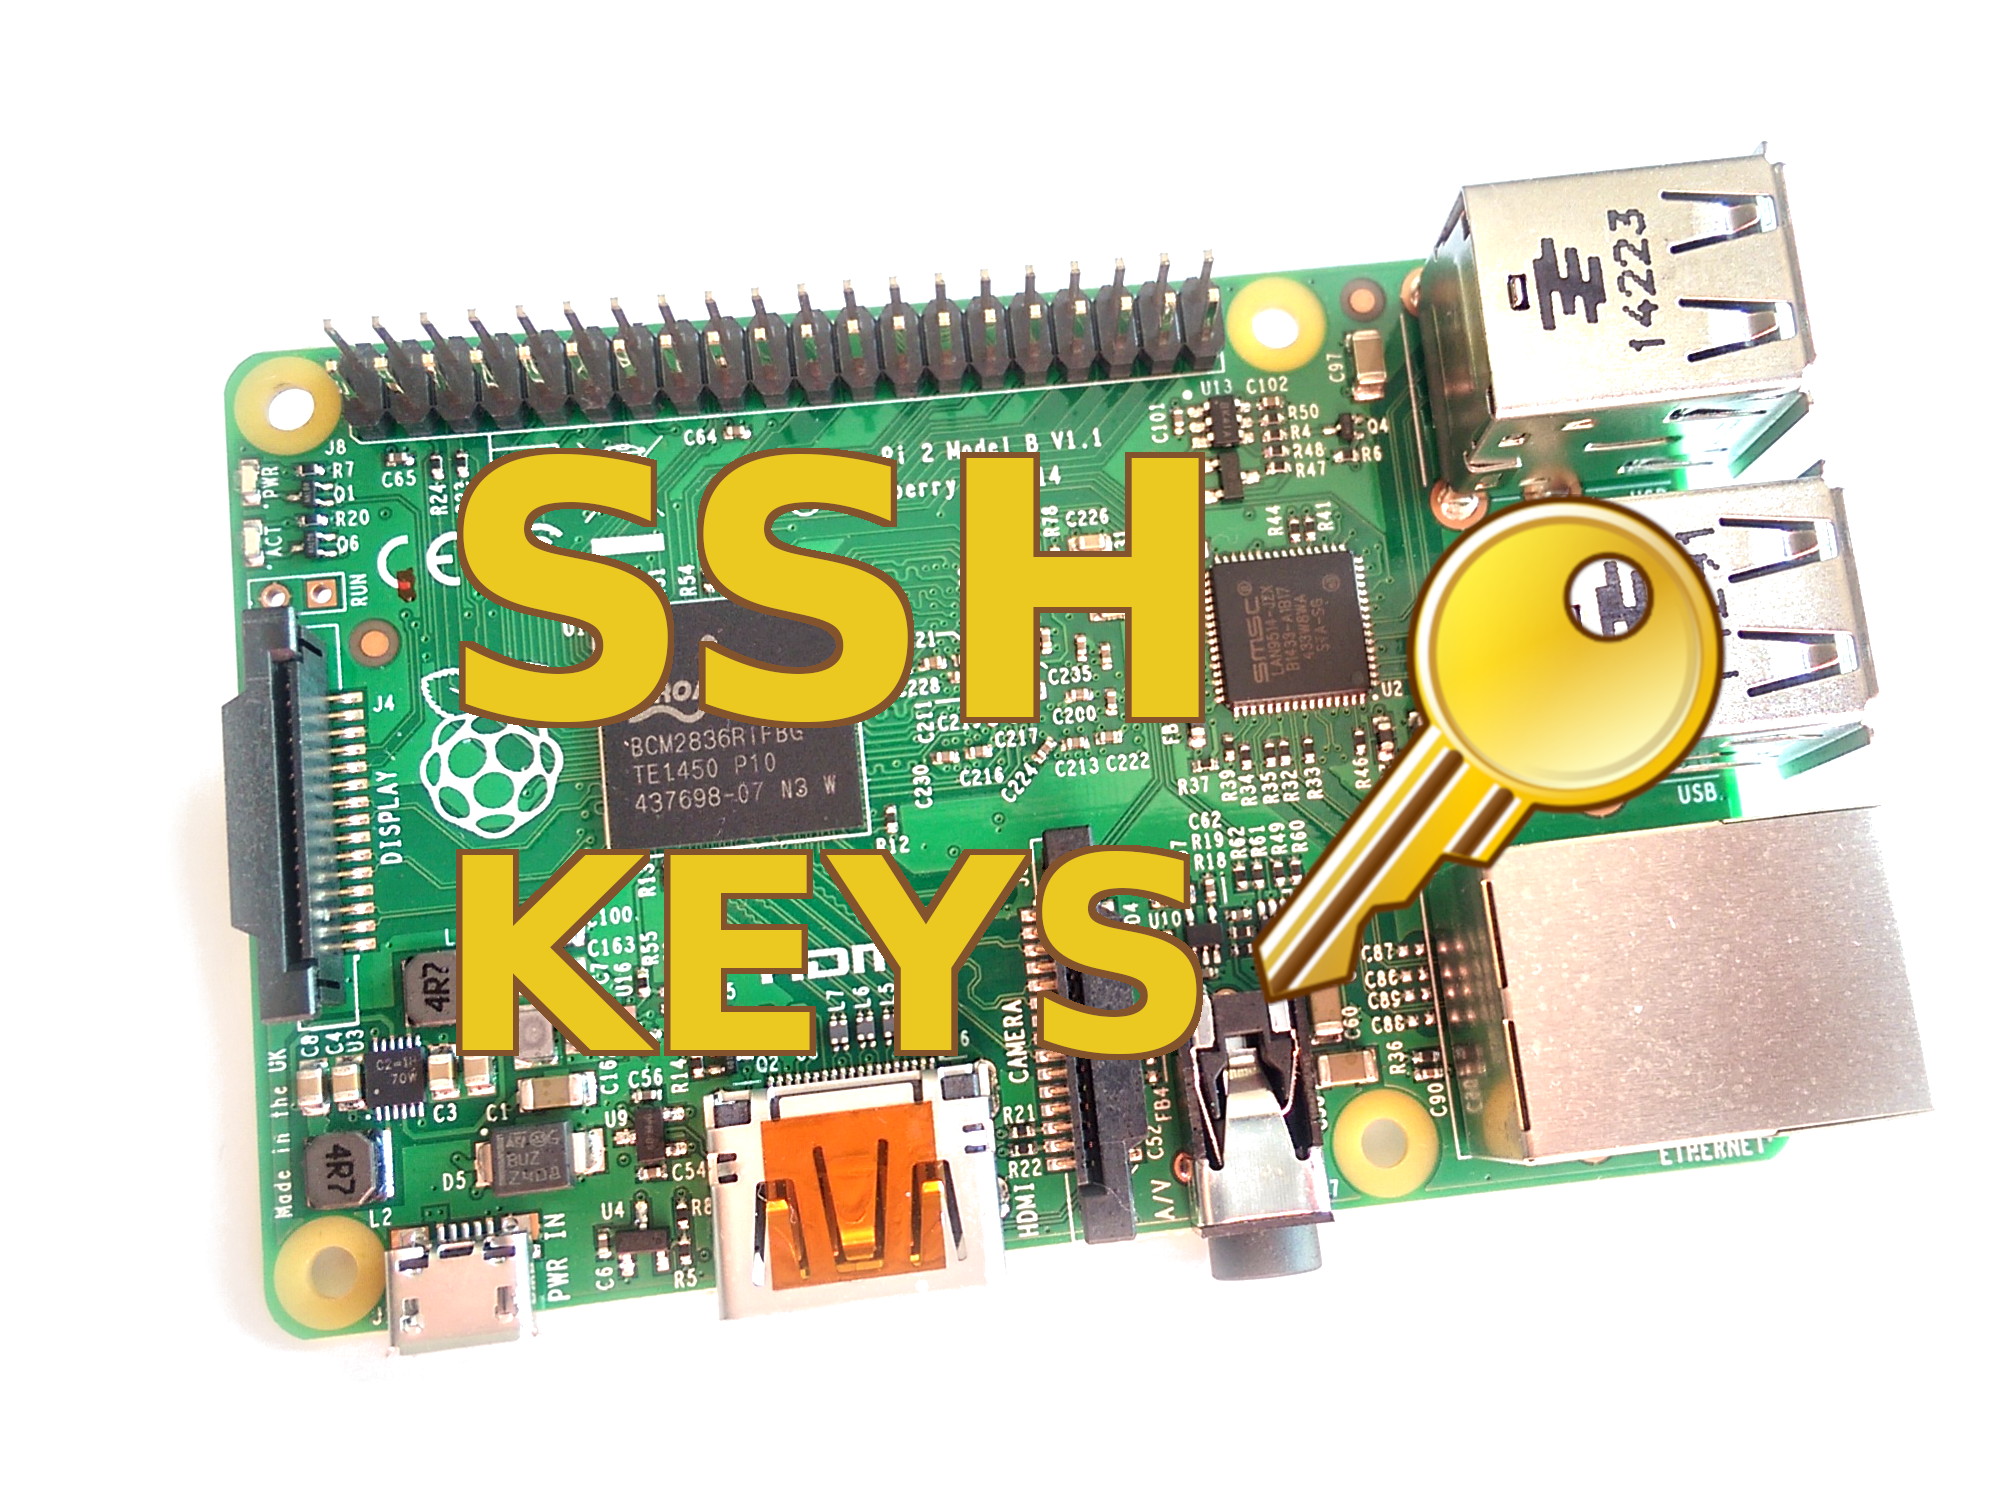
Step 2: Configure SSH Keys
Generating and configuring SSH keys is crucial for enhancing security. Use the following command to generate a key pair:
ssh-keygen -t rsa -b 4096
Step 3: Connect to Your Raspberry Pi
Once SSH is enabled and keys are configured, you can connect to your Raspberry Pi using the following command:
ssh username@raspberrypi
Securing Your Connection
Securing your SSH connection is vital to protect your remote IoT setup from unauthorized access. Below are some best practices to follow:
Change Default SSH Port
Changing the default SSH port (22) to a non-standard port can help deter automated attacks. Update the SSH configuration file to reflect this change.
Disable Root Login
Disabling root login adds an extra layer of security by preventing attackers from directly accessing the system's root account.
Use a Firewall
Implementing a firewall can help filter incoming and outgoing traffic, ensuring only authorized connections are allowed.
Troubleshooting Tips
Even with careful planning and setup, issues may arise. Below are some common problems and their solutions:
Connection Issues
If you're unable to connect to your Raspberry Pi via SSH, check the following:
- Ensure SSH is enabled on your Raspberry Pi.
- Verify that the IP address and port number are correct.
- Check your firewall settings to ensure SSH traffic is allowed.
Authentication Errors
Authentication errors can occur if the SSH keys are not properly configured. Double-check your key files and ensure they are correctly placed in the appropriate directories.
Advanced Features
Once you've successfully set up your remote IoT environment, consider exploring advanced features to enhance its functionality:
Automated Backups
Setting up automated backups ensures your data is safe and recoverable in case of hardware failure or other issues.
Monitoring and Alerts
Implementing monitoring tools and alerts can help you stay informed about the status of your remote IoT setup, allowing for proactive maintenance and troubleshooting.
Conclusion
In conclusion, setting up a remote IoT environment using a Virtual Private Cloud (VPC) with SSH on a Raspberry Pi for free is a practical and cost-effective solution for managing connected devices. By following the steps outlined in this guide, you can create a secure, scalable, and efficient setup tailored to your specific needs.
We encourage you to share your experiences and ask questions in the comments section below. Additionally, don't forget to explore other articles on our site for more tips and insights into the world of IoT and Raspberry Pi projects.
References: