Remote IoT VPC SSH on Raspberry Pi has become an essential tool for tech enthusiasts and professionals alike. As the Internet of Things (IoT) continues to grow, the ability to remotely manage devices has become crucial. Whether you're a developer, hobbyist, or IT professional, understanding how to set up and manage a remote connection through Virtual Private Cloud (VPC) using SSH on Raspberry Pi is a game-changer. This article will guide you step-by-step through the process and provide valuable insights to help you succeed.
Imagine being able to control your IoT devices from anywhere in the world. With the right setup, this is not only possible but also relatively simple. By leveraging SSH and a VPC, you can ensure secure and reliable communication between your devices and your network.
In this comprehensive guide, we'll cover everything from setting up a Raspberry Pi to configuring a VPC and SSH for remote access. Additionally, we'll explore how to download Windows 10 on your Raspberry Pi and integrate it with your IoT ecosystem. Let's dive in!
Read also:Unveiling Chris Ivery The Rising Star In The Music Industry
Table of Contents
- Introduction to Remote IoT VPC SSH
- Raspberry Pi Setup
- VPC Configuration
- SSH Setup
- Downloading Windows 10 on Raspberry Pi
- Remote Access
- IoT Integration
- Troubleshooting
- Conclusion
Introduction to Remote IoT VPC SSH
In today's interconnected world, the ability to remotely manage IoT devices is no longer a luxury but a necessity. Remote IoT VPC SSH allows you to securely connect to your Raspberry Pi and other devices over the internet. By setting up a Virtual Private Cloud (VPC), you can create a secure network environment for your IoT devices.
SSH (Secure Shell) is a cryptographic network protocol that provides secure communication between devices. It ensures that your data remains encrypted and protected from unauthorized access. This is especially important when dealing with sensitive information or controlling critical systems.
With the increasing popularity of Raspberry Pi, many users are looking for ways to integrate this versatile device into their IoT ecosystem. By combining Raspberry Pi with VPC and SSH, you can create a powerful and secure remote management solution.
Raspberry Pi Setup
Hardware Requirements
Before diving into the setup process, it's essential to gather the necessary hardware components. Here's a list of items you'll need:
- Raspberry Pi (any model with networking capabilities)
- MicroSD card (at least 16GB)
- Power supply (compatible with your Raspberry Pi model)
- Ethernet cable or Wi-Fi dongle (depending on your network setup)
- HDMI cable and monitor (optional, for initial setup)
Software Configuration
Once you have all the hardware components, it's time to configure the software. Start by downloading the latest version of Raspberry Pi OS from the official website. Use a tool like Balena Etcher to flash the image onto your MicroSD card.
After flashing the OS, insert the MicroSD card into your Raspberry Pi and power it on. If you're using a monitor, follow the on-screen instructions to complete the initial setup. If you're setting up headless (without a monitor), you can enable SSH by creating an empty file named "ssh" on the boot partition of the MicroSD card.
Read also:Jamie Kahs Net Worth A Deep Dive Into The Life And Success Of A Rising Star
VPC Configuration
Configuring a Virtual Private Cloud (VPC) is the next step in setting up remote IoT VPC SSH. A VPC allows you to create a private network environment for your devices, ensuring secure communication and isolation from the public internet.
Most cloud providers, such as AWS, Google Cloud, and Microsoft Azure, offer VPC services. Choose a provider that best suits your needs and follow their documentation to set up a VPC. Be sure to configure security groups and network access control lists (NACLs) to restrict access to your Raspberry Pi.
Once your VPC is set up, assign a private IP address to your Raspberry Pi and configure port forwarding on your router to allow SSH connections.
SSH Setup
Enabling SSH
Enabling SSH on your Raspberry Pi is a straightforward process. If you're using Raspberry Pi OS, SSH is disabled by default for security reasons. To enable it, open the terminal and run the following command:
sudo raspi-config
Use the arrow keys to navigate to "Interfacing Options" and select "SSH." Follow the on-screen instructions to enable SSH. Once enabled, you can connect to your Raspberry Pi using an SSH client like PuTTY or the terminal on your computer.
Securing SSH
While SSH provides secure communication, it's essential to take additional steps to protect your Raspberry Pi from unauthorized access. Here are some best practices for securing SSH:
- Change the default SSH port (22) to a non-standard port.
- Disable password authentication and use SSH keys for authentication.
- Limit SSH access to specific IP addresses using firewall rules.
- Regularly update your Raspberry Pi's software to patch security vulnerabilities.
Downloading Windows 10 on Raspberry Pi
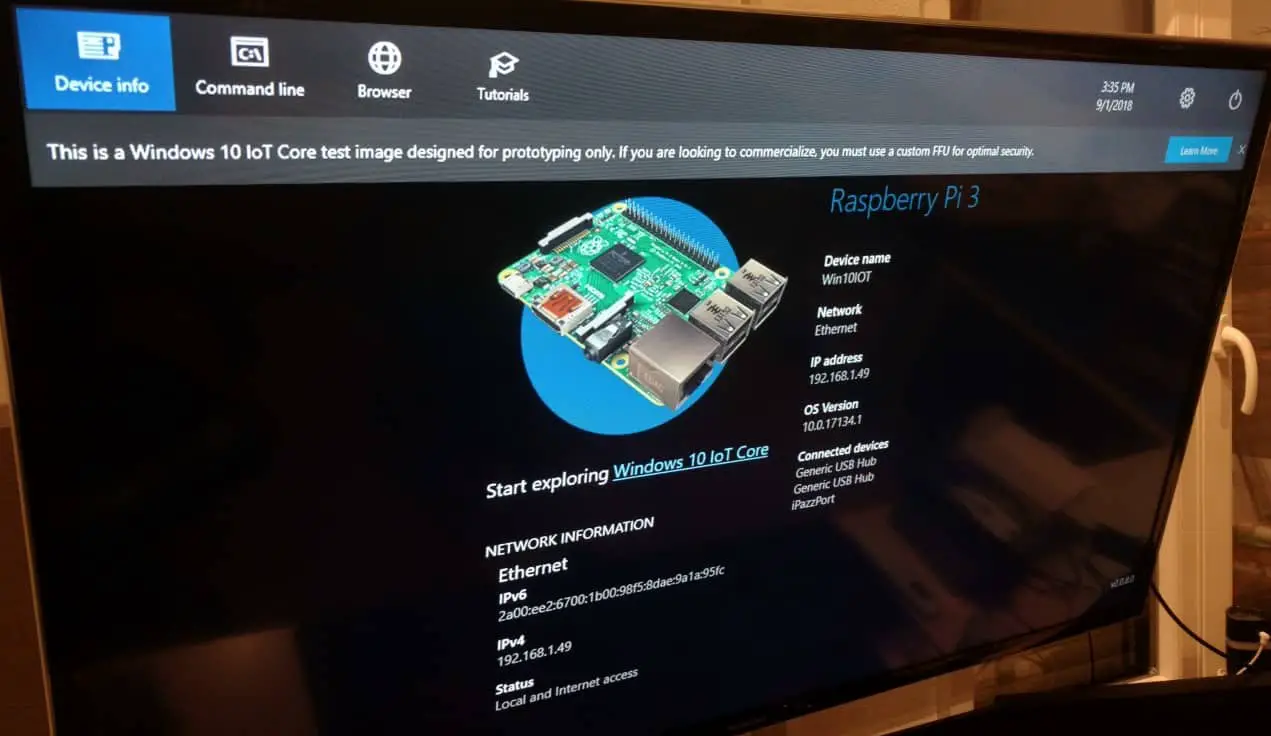
Downloading and installing Windows 10 on your Raspberry Pi is a great way to expand its capabilities. Microsoft offers a version of Windows 10 IoT Core specifically designed for Raspberry Pi. This lightweight operating system is ideal for running IoT applications and services.
To download Windows 10 IoT Core, visit the official Microsoft website and follow the installation instructions. Be sure to choose the correct image for your Raspberry Pi model. Once the image is downloaded, use a tool like Win32 Disk Imager to flash it onto your MicroSD card.
After installing Windows 10 IoT Core, you can connect to your Raspberry Pi using PowerShell or the Windows Device Portal. This allows you to manage your device remotely and deploy IoT applications.
Remote Access
With SSH and VPC configured, you can now access your Raspberry Pi remotely. Use an SSH client to connect to your Raspberry Pi's private IP address or public DNS name (if using a cloud provider). When prompted, enter your login credentials to access the device.
For added convenience, consider setting up a Dynamic DNS (DDNS) service to keep track of your Raspberry Pi's public IP address. This is especially useful if your internet service provider assigns dynamic IP addresses.
Remember to follow best practices for securing your remote connection, such as using strong passwords and enabling two-factor authentication (2FA) whenever possible.
IoT Integration
Now that your Raspberry Pi is set up and securely accessible, it's time to integrate it with your IoT ecosystem. There are countless possibilities for IoT applications, from home automation to industrial monitoring. Here are a few ideas to get you started:
- Set up a smart home system using sensors and actuators connected to your Raspberry Pi.
- Create a weather station that collects and analyzes environmental data.
- Develop a custom IoT application using Python or Node.js.
Explore open-source IoT platforms like Home Assistant, OpenHAB, or Node-RED to simplify the development process. These platforms provide a wide range of integrations and plugins to help you build powerful IoT solutions.
Troubleshooting
Even with careful planning, issues can arise during the setup process. Here are some common problems and their solutions:
- SSH connection refused: Ensure that SSH is enabled and the correct port is being used. Check firewall rules and router configuration.
- Unable to connect to VPC: Verify that your Raspberry Pi's IP address is correctly assigned and that security groups/NACLs allow SSH traffic.
- Windows 10 IoT Core installation fails: Double-check that the correct image is downloaded and flashed onto the MicroSD card. Use a different tool if necessary.
If you encounter persistent issues, consult the official documentation or seek help from online forums and communities.
Conclusion
In conclusion, mastering Remote IoT VPC SSH on Raspberry Pi with Windows 10 download opens up endless possibilities for tech enthusiasts and professionals. By following the steps outlined in this guide, you can create a secure and reliable remote management solution for your IoT devices.
Remember to prioritize security when setting up SSH and VPC. Regularly update your software and follow best practices to protect your devices from unauthorized access.
We invite you to share your experiences and ask questions in the comments section below. Feel free to explore other articles on our site for more tips and tutorials on IoT and Raspberry Pi. Together, let's build a smarter, more connected world!