Building your own bookcase is a rewarding DIY project that allows you to customize the size, style, and functionality to fit your space perfectly. Whether you're a beginner or an experienced woodworker, this guide will walk you through every step of the process, ensuring you create a beautiful and functional piece of furniture for your home.
There’s something incredibly satisfying about creating something with your own hands. A DIY bookcase not only adds value to your home but also reflects your personal taste and creativity. With the right tools, materials, and instructions, anyone can build a sturdy and stylish bookcase tailored to their needs.
In this comprehensive guide, we’ll cover everything from planning and designing your bookcase to assembling it and finishing the project. By the end, you’ll have all the knowledge you need to tackle this project confidently. So let’s dive in and get started!
Read also:Discover The Vibrant Charm Of Long Beach Ca A Coastal Paradise
Table of Contents
- Planning Your Bookcase
- Tools and Materials Needed
- Designing Your Bookcase
- Cutting the Wood
- Assembling the Bookcase
- Finishing Touches
- Tips for Success
- Cost Considerations
- Safety Precautions
- Frequently Asked Questions
Planning Your Bookcase
Before you start building, it's essential to plan your project carefully. Proper planning ensures that your bookcase will fit perfectly in your space and meet your storage needs.
Measure Your Space
Measure the area where you plan to place your bookcase. Consider the height, width, and depth to ensure it fits comfortably in the room. Don’t forget to account for any obstructions like windows, doors, or vents.
Determine the Purpose
Decide what you’ll use the bookcase for. Will it hold books, display decorative items, or store other objects? This will help you determine the number and size of shelves you’ll need.
Choose a Style
Select a style that complements your home’s decor. Modern, rustic, or traditional styles can all be achieved with the right materials and finishes.
Tools and Materials Needed
Gathering the right tools and materials is crucial for a successful DIY project. Here’s a list of what you’ll need:
- Tools: Circular saw, drill, screwdriver, measuring tape, level, square, clamps, and sandpaper.
- Materials: Plywood, wood glue, screws, wood filler, paint or stain, and protective sealant.
Having all these tools and materials ready before you start will save you time and ensure a smoother process.
Read also:University Of North Greenville Football A Comprehensive Guide To The Teams Legacy And Impact
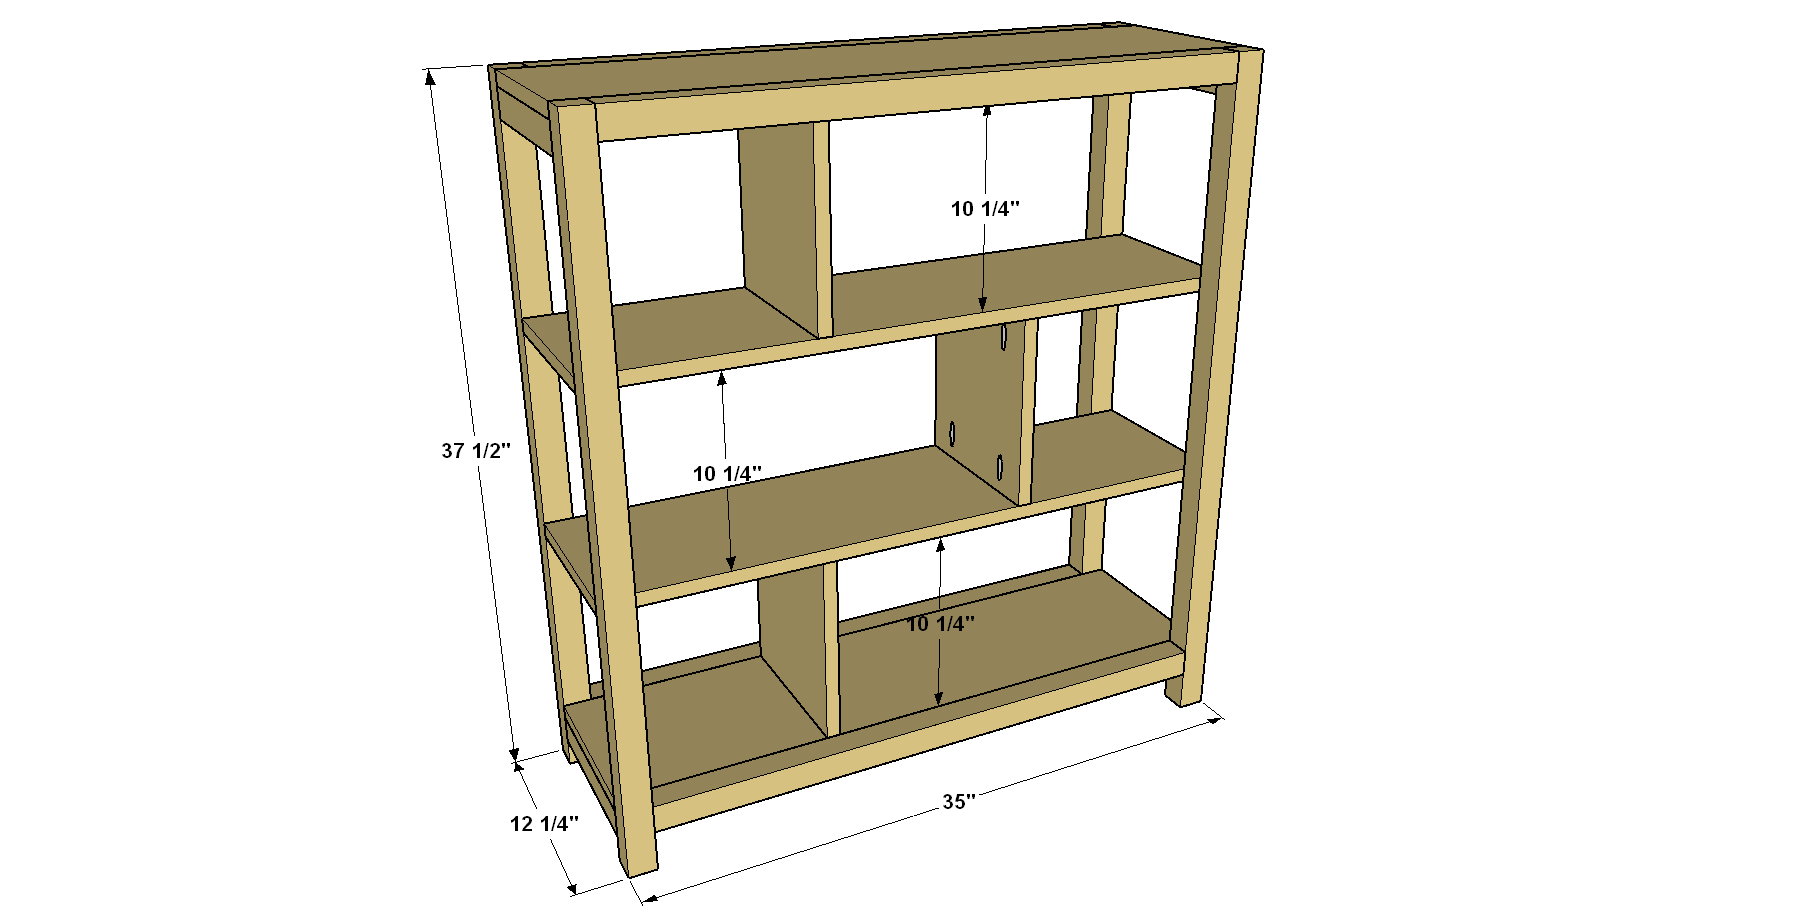
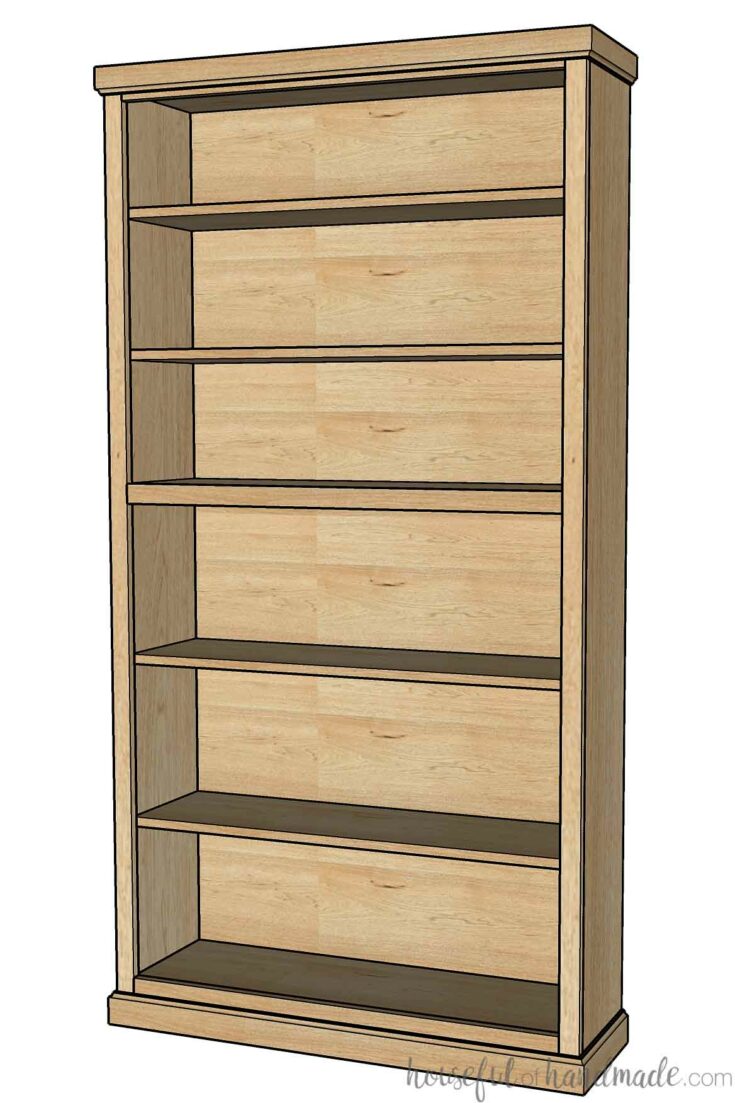
Designing Your Bookcase
Designing your bookcase involves creating a blueprint or sketch of your project. This step helps visualize the final product and ensures all measurements are accurate.
Sketch Your Design
Draw a simple sketch of your bookcase, including dimensions for each part. Label the sides, shelves, and back panel. This will serve as your guide during the construction process.
Decide on Shelf Spacing
Plan the spacing between shelves based on the items you intend to store. Adjustable shelves can provide more flexibility if needed.
Consider Back Panel Options
A back panel adds stability to your bookcase. You can use thin plywood or a decorative mesh for a more lightweight option.
Cutting the Wood
Once your design is finalized, it’s time to cut the wood. Precision is key in this step to ensure a perfect fit for all parts.
Measure Twice, Cut Once
Double-check all measurements before making any cuts. Use a circular saw or hand saw for straight cuts and a jigsaw for curves if necessary.
Label Each Piece
Label each piece of wood as you cut it to avoid confusion during assembly. This will save time and prevent mistakes.
Sand the Edges
Sand all edges and surfaces to remove splinters and ensure a smooth finish. This step is crucial for safety and aesthetics.
Assembling the Bookcase
With all your pieces cut and sanded, it’s time to assemble your bookcase. Follow these steps for a sturdy and well-constructed unit.
Attach the Sides and Shelves
Start by attaching the sides to the shelves using wood glue and screws. Use clamps to hold the pieces together while the glue dries.
Add the Back Panel
Secure the back panel to the frame using small nails or staples. This will add stability and prevent the bookcase from wobbling.
Level the Structure
Use a level to ensure your bookcase is straight and stable. Adjust the feet if necessary to achieve a perfect balance.
Finishing Touches
Now that your bookcase is assembled, it’s time to add the finishing touches that will make it look professional and durable.
Apply Wood Filler
Fill any gaps or holes with wood filler and sand them smooth once dry. This will create a seamless surface for painting or staining.
Choose a Finish
Decide whether you want to paint or stain your bookcase. Choose colors or stains that complement your home’s decor.
Protect with Sealant
Apply a protective sealant to prolong the life of your bookcase and protect it from moisture and damage.
Tips for Success
Here are some additional tips to ensure your DIY bookcase project is a success:
- Take your time and don’t rush the process.
- Seek help if you’re unsure about any steps.
- Regularly clean your tools to maintain their effectiveness.
Following these tips will help you avoid common pitfalls and achieve a high-quality result.
Cost Considerations
Building your own bookcase can save you money compared to buying one. However, it’s important to consider the initial costs of tools and materials.
Estimate Material Costs
Calculate the cost of wood, screws, glue, and finishing products. Compare prices at different suppliers to find the best deals.
Invest in Quality Tools
While it may seem expensive upfront, investing in quality tools will pay off in the long run with better results and longer tool life.
Look for Discounts
Keep an eye out for sales or discounts on materials and tools to reduce your overall expenses.
Safety Precautions
Safety should always be a top priority when working on DIY projects. Follow these safety tips to protect yourself:
- Wear protective gear, including gloves, goggles, and a dust mask.
- Ensure your workspace is well-lit and free of clutter.
- Follow all tool instructions and safety guidelines.
By prioritizing safety, you can enjoy your project without worrying about accidents.
Frequently Asked Questions
How Long Does It Take to Build a Bookcase?
The time required depends on the complexity of the design and your skill level. A simple bookcase can take a weekend, while more intricate designs may take longer.
Can I Customize the Size?
Absolutely! One of the benefits of building your own bookcase is the ability to customize the size to fit your specific needs and space.
What Type of Wood Should I Use?
Plywood is a popular choice due to its affordability and strength. Solid wood options like oak or pine offer a more premium look but can be more expensive.
Kesimpulan
Building your own bookcase is a fulfilling DIY project that allows you to create a custom piece of furniture tailored to your home’s needs. By following this step-by-step guide, you can confidently tackle the project from start to finish.
We encourage you to share your experience and any tips you’ve learned along the way in the comments below. Don’t forget to explore our other DIY guides for more inspiration and ideas. Happy building!