Learning how to draw a rose can be an incredibly rewarding experience, especially for beginners who want to explore their artistic side. Whether you're an amateur artist or just starting out, this guide will help you master the art of drawing roses with stunning results. With simple steps and easy techniques, creating beautiful rose drawings is more accessible than ever before.
Roses are one of the most popular subjects in art due to their timeless beauty and symbolic meaning. From romantic gestures to elegant decorations, roses have inspired countless artists over the centuries. This beginner's guide will provide you with all the tools and techniques you need to create stunning rose drawings effortlessly.
Through this article, we'll cover everything from basic shapes and shading techniques to advanced tips that will elevate your artwork. By following our step-by-step instructions, you'll gain confidence in your drawing abilities and produce impressive results. So grab your pencil, paper, and let's dive into the world of rose artistry!
Read also:Find Your Perfect Companion A Guide To South Bay Pet Adoption
Table of Contents
- Introduction to Rose Drawing
- Tools and Materials Needed
- Basic Shapes for Drawing a Rose
- Step-by-Step Guide to Drawing a Rose
- Shading Techniques for Realistic Roses
- Common Mistakes to Avoid
- Variations and Styles of Rose Drawings
- Advanced Tips for Stunning Rose Art
- Digital Drawing of Roses
- Conclusion and Call to Action
Introduction to Rose Drawing
Drawing a rose might seem intimidating at first, but with the right approach, anyone can create stunning artwork. Roses are not only beautiful but also versatile, making them perfect for various artistic styles. Whether you prefer realistic depictions or abstract interpretations, roses offer endless possibilities for creativity.
Why Choose Roses as Your Subject?
Roses have been a symbol of love, beauty, and passion for centuries. They are often featured in famous artworks, literature, and even music. By learning how to draw a rose, you're connecting with a rich artistic tradition while developing your skills. Additionally, roses provide excellent practice for mastering shading, texture, and form, which are essential for any aspiring artist.
Tools and Materials Needed
Before diving into the drawing process, it's important to gather the right tools and materials. Having the correct supplies will make your experience smoother and more enjoyable. Here's a list of essential items you'll need:
- Pencils (HB, 2B, 4B, 6B)
- Eraser (kneaded and regular)
- Sketchbook or drawing paper
- Blending tools (tortillons or blending stumps)
- Reference images of roses
For those interested in digital drawing, a graphics tablet and software like Procreate or Adobe Fresco can be incredibly useful. These tools allow you to experiment with different techniques and styles without the limitations of traditional media.
Basic Shapes for Drawing a Rose
Understanding basic shapes is crucial when learning how to draw a rose. By breaking down the complex structure of a rose into simpler forms, you can approach the drawing process with confidence. Start by sketching an oval for the center of the flower and add petals around it using curved lines.
Breaking Down the Rose Structure
Here’s a quick breakdown of the rose's structure:
Read also:Phillipa Soo Husband Everything You Need To Know About Her Life And Love
- Oval for the center
- Petals shaped like teardrops or rounded triangles
- Leaves with pointed ends
- Stem with thorns
By focusing on these basic shapes, you'll find it easier to construct a realistic rose. Remember to observe real roses or reference images to understand how the petals layer and overlap.
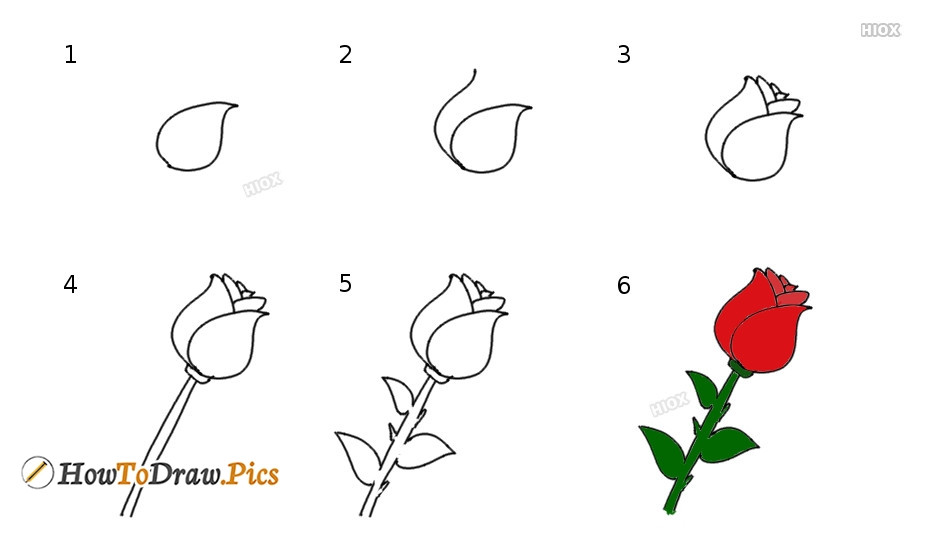
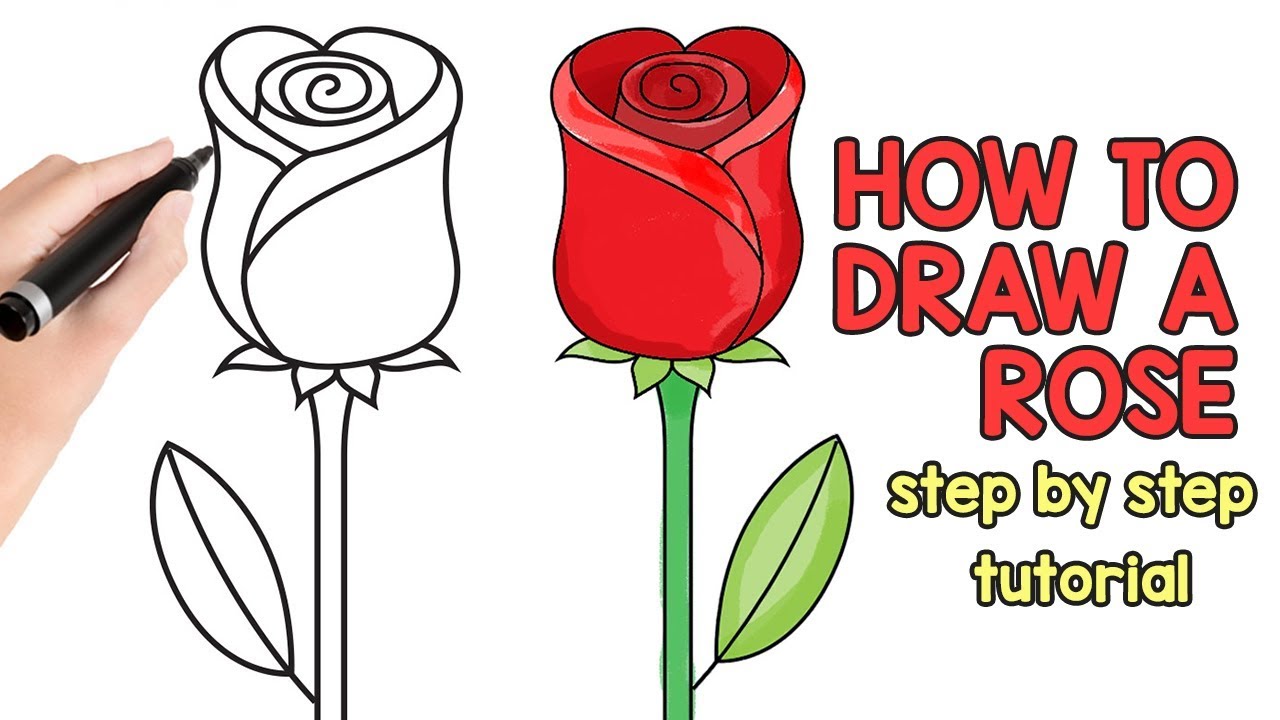
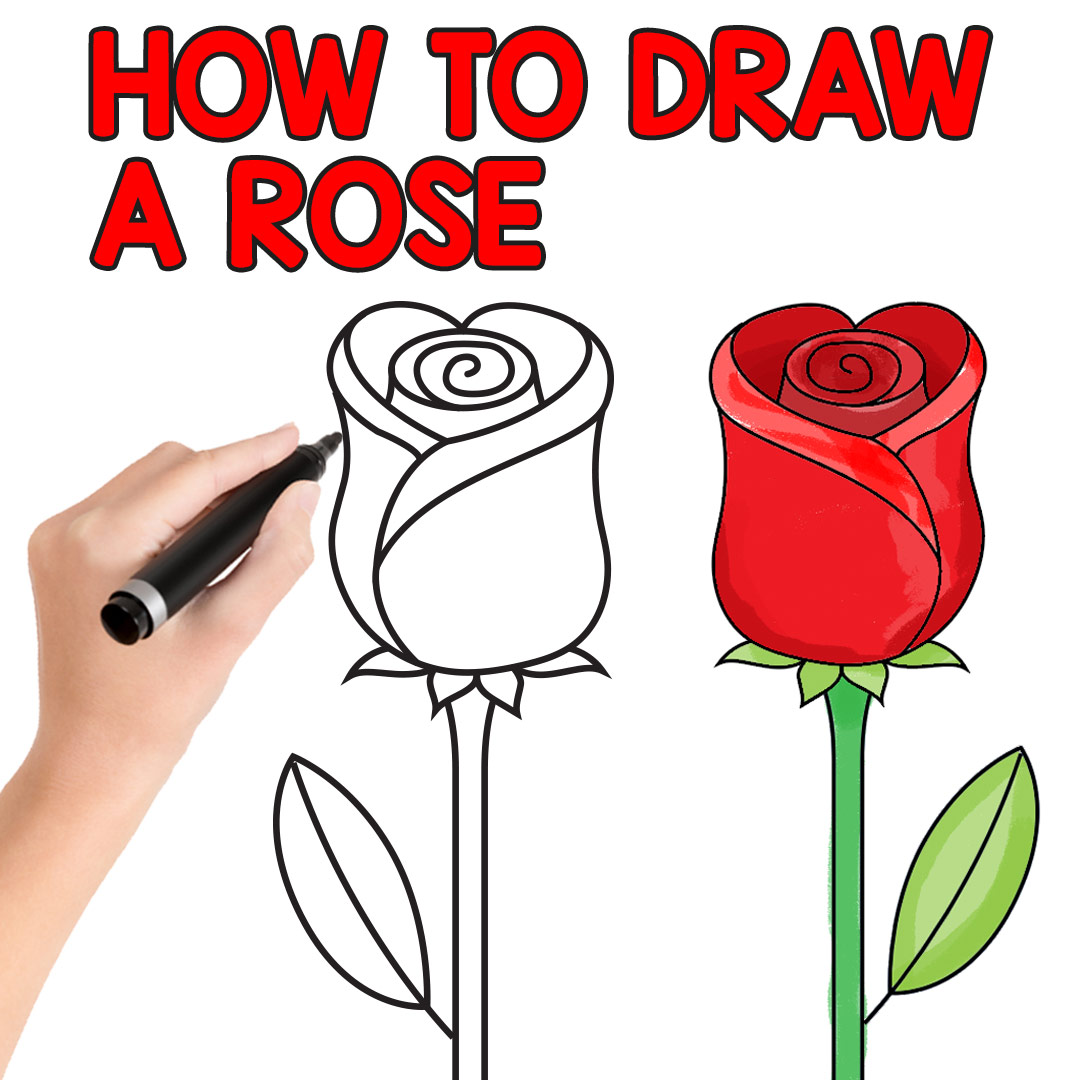
Step-by-Step Guide to Drawing a Rose
Now that you have your materials and understand the basic shapes, let's dive into the step-by-step process of drawing a rose. This guide will walk you through each stage, ensuring you achieve stunning results.
Step 1: Sketch the Center
Begin by lightly sketching an oval for the center of the rose. This will serve as the foundation for the rest of your drawing. Keep your lines light so they can be erased later if needed.
Step 2: Add the Inner Petals
Draw small, curved lines around the oval to represent the inner petals. These petals should be tightly packed and slightly overlapping.
Step 3: Layer the Outer Petals
Gradually add larger petals around the inner ones, ensuring they overlap naturally. Use reference images to study how the petals curve and layer in real roses.
Step 4: Draw the Stem and Leaves
Once the flower is complete, sketch the stem and leaves. Add thorns along the stem for added detail. Pay attention to the shape and texture of the leaves, as they can enhance the overall realism of your drawing.
Shading Techniques for Realistic Roses
Shading is key to creating depth and dimension in your rose drawing. By mastering different shading techniques, you can transform a flat image into a lifelike masterpiece.
Types of Shading Techniques
- Hatching: Parallel lines drawn close together
- Cross-hatching: Crossing lines to create darker tones
- Stippling: Small dots used to build up tone
- Blending: Smoothing out shading with tools or fingers
Experiment with these techniques to find what works best for your style. Remember to observe light sources and shadows in your reference images to achieve realistic shading.
Common Mistakes to Avoid
Even experienced artists make mistakes, but being aware of common pitfalls can help you improve your rose drawings. Here are some mistakes to watch out for:
- Overdrawing: Applying too much pressure or adding too many details
- Ignoring proportions: Ensuring the petals, stem, and leaves are in proportion
- Forgetting shadows: Adding shading to create depth and realism
By avoiding these mistakes, you'll produce cleaner, more polished drawings.
Variations and Styles of Rose Drawings
Rose drawings can take on many forms, from realistic to abstract. Exploring different styles will help you find your unique artistic voice. Here are a few variations to consider:
- Realistic: Focus on precise details and shading
- Abstract: Experiment with shapes and colors
- Line Art: Create bold, clean lines without shading
Don't be afraid to mix and match styles to create something truly unique.
Advanced Tips for Stunning Rose Art
Once you've mastered the basics, it's time to take your rose drawings to the next level. Here are some advanced tips to elevate your artwork:
- Study anatomy: Understand how roses grow and bloom
- Experiment with mediums: Try colored pencils, watercolors, or digital tools
- Practice regularly: Consistent practice will improve your skills over time
By incorporating these tips into your routine, you'll create stunning rose art that stands out.
Digital Drawing of Roses
Digital drawing has revolutionized the art world, offering artists new tools and possibilities. If you're interested in creating rose drawings digitally, here are some tips to get started:
Software and Tablets
Popular software options for digital drawing include:
- Procreate (for iPad)
- Adobe Fresco
- Clip Studio Paint
Pair these programs with a graphics tablet like the Wacom Intuos or iPad Pro for optimal results.
Conclusion and Call to Action
Learning how to draw a rose can be a fulfilling journey for any beginner. By following this guide, you've gained the knowledge and skills needed to create stunning rose drawings. Remember to practice regularly, experiment with different styles, and always strive for improvement.
We encourage you to share your rose drawings with the world. Leave a comment below with your progress or questions, and don't forget to explore other articles on our site for more artistic inspiration. Happy drawing!