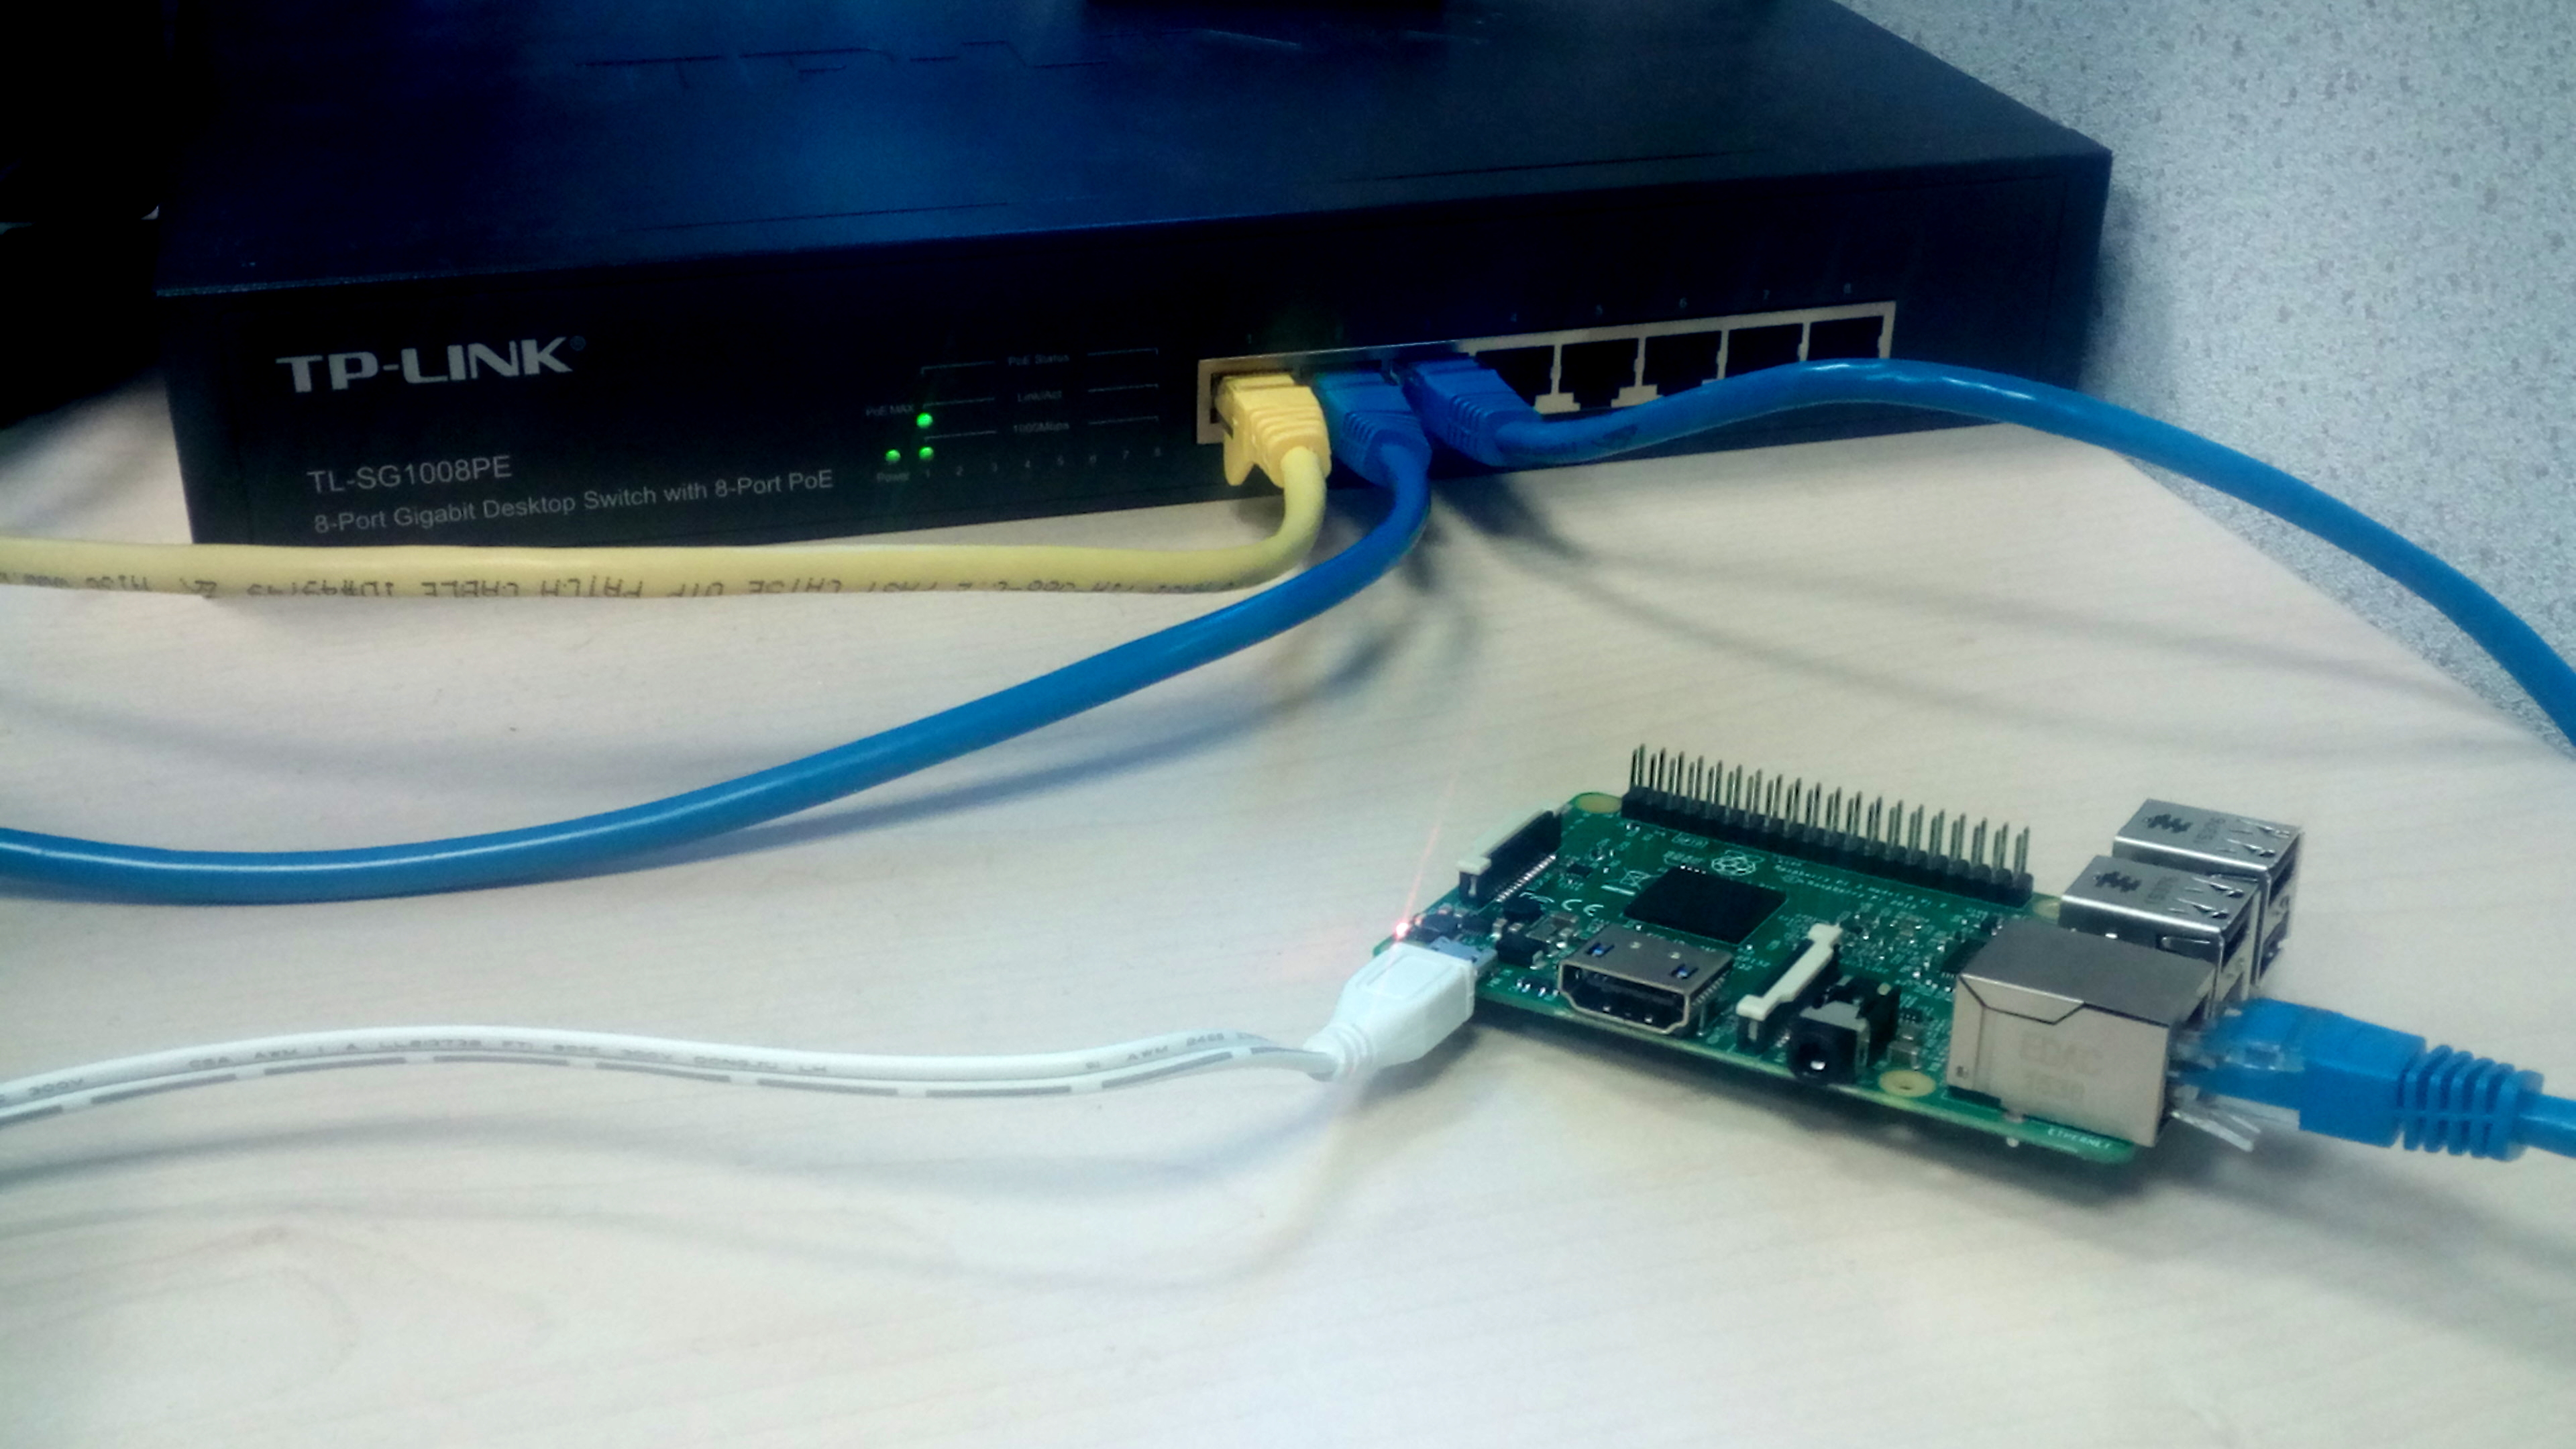
Accessing your Raspberry Pi remotely from another network is a powerful way to manage your projects and devices without being physically present. Whether you're running a home server, a smart home hub, or a personal cloud, remote access allows you to interact with your Pi from anywhere in the world. This article will guide you step-by-step on how to achieve this securely and efficiently. By the end of this guide, you'll have a clear understanding of the methods and tools you can use to connect to your Raspberry Pi remotely.
Remote access to your Raspberry Pi can be a game-changer for tech enthusiasts, developers, and hobbyists. Imagine being able to troubleshoot, update, or control your Pi without needing to be in the same location. This capability not only saves time but also enhances productivity. However, it’s essential to ensure that the process is secure and reliable to protect your data and network.
In this comprehensive guide, we’ll explore various methods to remotely access your Raspberry Pi from another network. We’ll cover everything from setting up SSH and VNC to advanced techniques like port forwarding and using third-party services. By following this guide, you’ll gain the expertise and confidence to manage your Raspberry Pi remotely while adhering to best practices for security and performance.
Read also:Anais Amore The Rising Star Who Defines Passion And Resilience
Table of Contents
- Introduction to Remote Access
- Setting Up SSH for Remote Access
- Using VNC for Remote Desktop
- Port Forwarding and Dynamic DNS (DDNS)
- Third-Party Remote Access Tools
- Securing Your Remote Connection
- Troubleshooting Common Issues
- Advanced Remote Access Techniques
- Best Practices for Remote Access
- Conclusion and Next Steps
Introduction to Remote Access
Remote access refers to the ability to connect to a device or network from a different location. For Raspberry Pi users, this means being able to control and manage their Pi from anywhere in the world. This capability is particularly useful for managing servers, IoT devices, or home automation systems.
There are several methods to achieve remote access, each with its own advantages and limitations. The most common methods include SSH (Secure Shell), VNC (Virtual Network Computing), and third-party tools like TeamViewer or AnyDesk. Each method caters to different needs, such as command-line access or a full graphical user interface.
Before diving into the technical details, it's important to understand the basics of networking. Your Raspberry Pi is typically connected to your local network, which is protected by a router. To access your Pi from another network, you’ll need to configure your router and Pi to allow external connections securely.
Setting Up SSH for Remote Access
SSH (Secure Shell) is one of the most popular methods for remote access due to its simplicity and security. It allows you to access the command line of your Raspberry Pi from another device. Here’s how you can set it up:
Enabling SSH on Raspberry Pi
- Open the terminal on your Raspberry Pi or connect via a monitor and keyboard.
- Type
sudo raspi-configand navigate to "Interfacing Options." - Select "SSH" and enable it. Confirm your choice and exit the configuration tool.
Connecting via SSH
- On your remote device, open a terminal or an SSH client like PuTTY.
- Enter the command
ssh pi@your_raspberry_pi_ip_address. - Enter your password when prompted. The default password is usually "raspberry."
Once connected, you can execute commands, install software, and manage your Pi as if you were sitting in front of it. SSH is lightweight and works well for users who prefer command-line interfaces.
Using VNC for Remote Desktop
If you need a graphical interface, VNC (Virtual Network Computing) is the way to go. VNC allows you to access the desktop environment of your Raspberry Pi remotely.
Read also:Brigitte Macrons Early Years A Closer Look At Her Childhood And Formative Experiences
Setting Up VNC on Raspberry Pi
- Install VNC Server on your Raspberry Pi by running
sudo apt install realvnc-vnc-server. - Enable VNC in the Raspberry Pi configuration tool by typing
sudo raspi-configand navigating to "Interfacing Options." - Download and install a VNC Viewer on your remote device from the official RealVNC website.
Connecting via VNC
- Open the VNC Viewer and enter your Raspberry Pi's IP address.
- Log in with your Pi's username and password.
- You’ll now see the desktop interface of your Raspberry Pi on your remote device.
VNC is ideal for users who need to interact with applications that require a graphical interface, such as web browsers or desktop software.
Port Forwarding and Dynamic DNS (DDNS)
To access your Raspberry Pi from another network, you’ll need to configure port forwarding on your router and possibly use a Dynamic DNS service if your ISP assigns a dynamic IP address.
Configuring Port Forwarding
- Access your router's admin panel by entering its IP address in a web browser.
- Navigate to the "Port Forwarding" section.
- Create a new rule to forward port 22 (for SSH) or port 5900 (for VNC) to your Raspberry Pi's local IP address.
Using Dynamic DNS (DDNS)
- Sign up for a DDNS service like No-IP or DuckDNS.
- Install the DDNS client on your Raspberry Pi and configure it with your DDNS account details.
- Use the DDNS hostname instead of your public IP address to connect remotely.
Port forwarding and DDNS are essential for making your Raspberry Pi accessible over the internet while maintaining a stable connection.
Third-Party Remote Access Tools
For users who prefer a simpler setup, third-party tools like TeamViewer, AnyDesk, or Chrome Remote Desktop can be excellent alternatives.
Setting Up TeamViewer
- Download and install TeamViewer on your Raspberry Pi.
- Create a TeamViewer account and link your Pi to it.
- Use the TeamViewer app on your remote device to connect to your Pi.
These tools often come with additional features like file transfer, chat, and multi-platform support, making them versatile for various use cases.
Securing Your Remote Connection
Security is paramount when accessing your Raspberry Pi remotely. Here are some best practices:
- Change the default password of your Raspberry Pi to something strong and unique.
- Use SSH keys instead of passwords for authentication.
- Enable a firewall on your Raspberry Pi to restrict unauthorized access.
- Keep your Raspberry Pi's software up to date to patch vulnerabilities.
By following these steps, you can ensure that your remote connection remains secure and protected from potential threats.
Troubleshooting Common Issues
While setting up remote access, you may encounter some common issues. Here’s how to resolve them:
- Connection Refused: Ensure that SSH or VNC is enabled on your Raspberry Pi and that the correct ports are forwarded.
- Dynamic IP Changes: Use a DDNS service to avoid issues caused by changing IP addresses.
- Slow Performance: Optimize your network settings or use a wired connection for better stability.
These troubleshooting tips should help you overcome most challenges when setting up remote access.
Advanced Remote Access Techniques
For users looking to take their remote access setup to the next level, consider these advanced techniques:
- Set up a reverse SSH tunnel to bypass restrictive firewalls.
- Use a VPN to create a secure connection between your remote device and Raspberry Pi.
- Explore containerization with Docker to manage multiple services on your Pi remotely.
These methods provide additional flexibility and security for advanced users.
Best Practices for Remote Access
To ensure a smooth and secure remote access experience, follow these best practices:
- Regularly back up your Raspberry Pi's data to prevent loss in case of failure.
- Monitor your network for unusual activity that could indicate a security breach.
- Document your setup process for future reference or troubleshooting.
By adhering to these guidelines, you can maximize the benefits of remote access while minimizing risks.
Conclusion and Next Steps
Accessing your Raspberry Pi remotely from another network is a valuable skill that opens up numerous possibilities for managing your projects and devices. By following the methods and best practices outlined in this guide, you can achieve secure and reliable remote access.
We encourage you to experiment with different tools and techniques to find the setup that works best for your needs. If you found this guide helpful, please share it with others or leave a comment below with your thoughts and experiences. For more articles like this, feel free to explore our website and continue expanding your knowledge.