Are you struggling to connect to your Raspberry Pi remotely over the internet using SSH? You're not alone. Many users face challenges when trying to establish a secure remote connection to their Raspberry Pi. Whether you're using your Pi for home automation, server hosting, or IoT projects, remote SSH access is crucial for managing your device efficiently. In this article, we'll explore the common reasons why remote SSH to your Raspberry Pi over the internet might not be working and provide actionable solutions to resolve these issues.
Remote SSH access is a powerful tool that allows you to control your Raspberry Pi from anywhere in the world. However, setting it up correctly can sometimes be tricky, especially when dealing with network configurations, firewalls, and security protocols. This guide will walk you through every step, ensuring that you can troubleshoot and fix any problems effectively.
By the end of this article, you'll have a clear understanding of how to diagnose and resolve issues related to remote SSH connections to your Raspberry Pi. We'll cover everything from basic configurations to advanced troubleshooting techniques, ensuring that your Pi remains accessible and secure. Let’s dive in!
Read also:Unveiling The Legacy Of Ms Sethi A Journey Of Inspiration And Excellence
Table of Contents
- Introduction to SSH and Raspberry Pi
- Common Reasons for SSH Connection Failure
- Step-by-Step Guide to Enable SSH on Raspberry Pi
- Configuring Your Router for Remote SSH Access
- Setting Up Port Forwarding
- Using a Dynamic DNS Service
- Troubleshooting SSH Connection Issues
- Advanced Security Measures for SSH
- Alternative Methods for Remote Access
- Conclusion and Next Steps
Introduction to SSH and Raspberry Pi
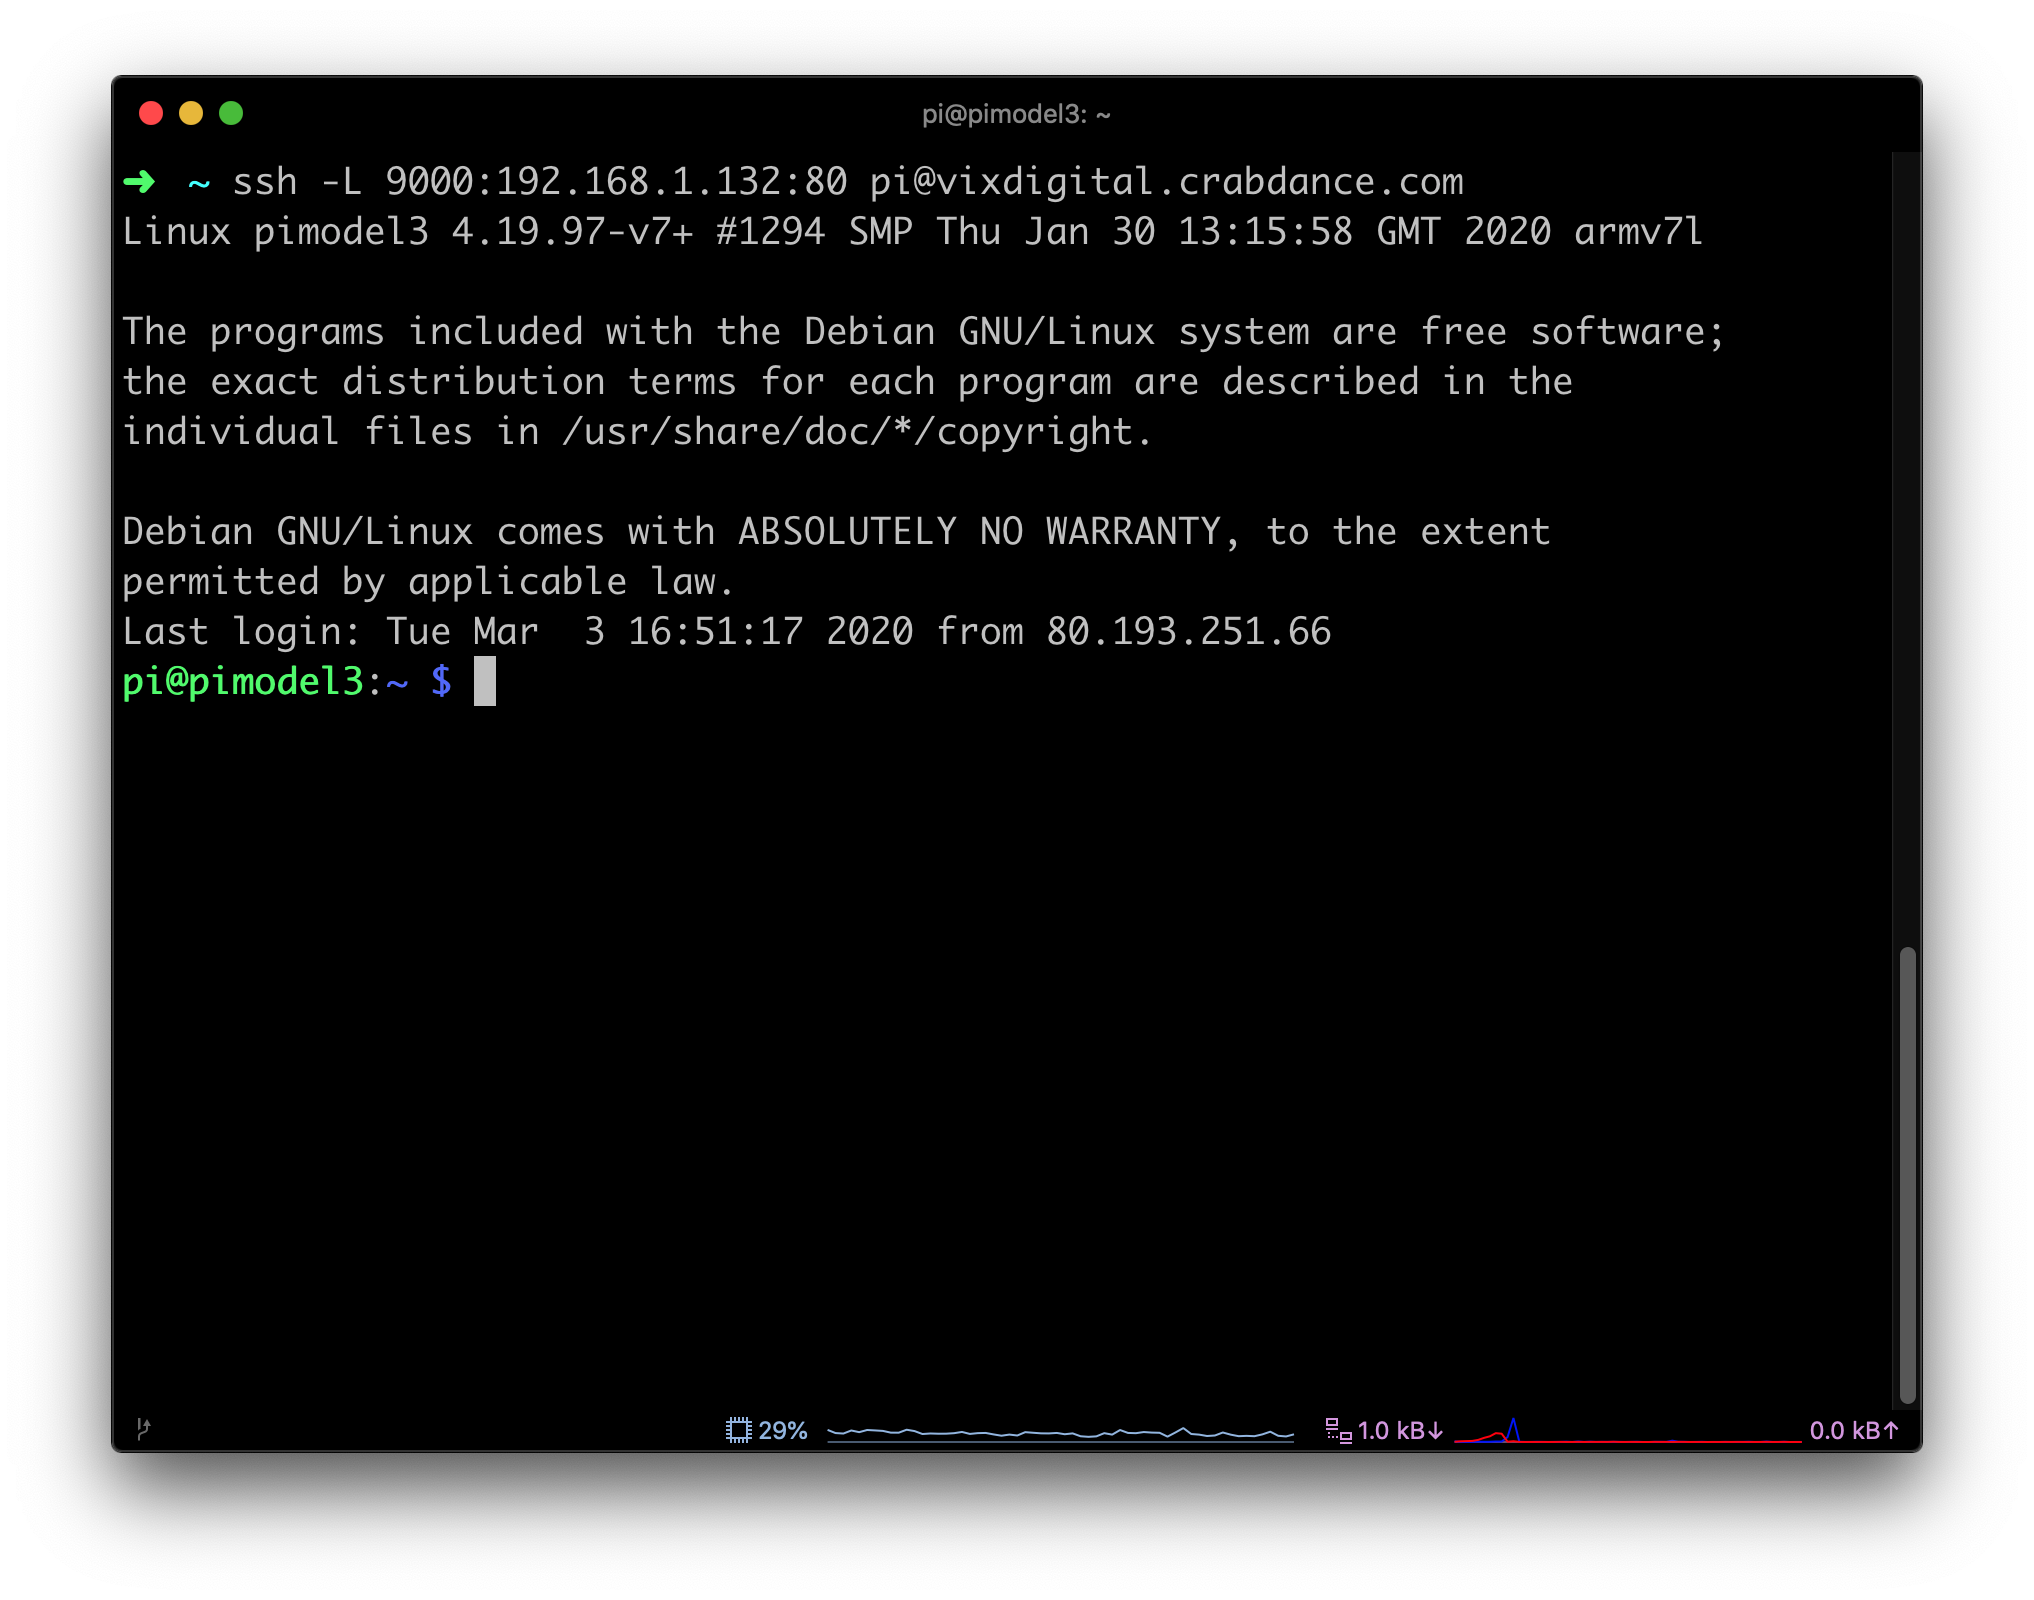
SSH, or Secure Shell, is a cryptographic network protocol used for secure communication between a client and a server. It is widely used for remote administration of devices like the Raspberry Pi, allowing users to execute commands and manage files without physically accessing the device.
The Raspberry Pi is a versatile single-board computer that has gained immense popularity for its affordability and flexibility. It is often used for projects like home automation, media servers, and IoT applications. Remote SSH access is essential for managing these projects, especially when the Pi is located in a different physical location.
While SSH is inherently secure, setting it up for remote access over the internet requires careful configuration to avoid potential vulnerabilities. Misconfigurations or network issues can lead to SSH connection failures, which is why understanding the basics is crucial before diving into troubleshooting.
Common Reasons for SSH Connection Failure
There are several reasons why remote SSH to your Raspberry Pi might not be working. Below are some of the most common causes:
- SSH Service Not Enabled: By default, SSH is disabled on Raspberry Pi OS for security reasons. You need to enable it manually.
- Incorrect Network Configuration: Issues with IP addresses, subnet masks, or DNS settings can prevent successful connections.
- Firewall Restrictions: Firewalls on your router or Raspberry Pi might block incoming SSH connections.
- Port Forwarding Not Configured: Without proper port forwarding, external devices cannot reach your Raspberry Pi.
- Dynamic IP Address Changes: If your ISP assigns a dynamic IP address, it may change periodically, breaking your connection.
Understanding these potential issues will help you diagnose and fix problems more effectively.
Step-by-Step Guide to Enable SSH on Raspberry Pi
Before you can connect to your Raspberry Pi remotely, you need to ensure that SSH is enabled. Follow these steps:
Read also:Marco Carolas Financial Empire Unveiling The Net Worth Of A Techno Titan
- Enable SSH via Raspberry Pi Configuration:
- Open the Raspberry Pi terminal and type
sudo raspi-config. - Navigate to "Interfacing Options" and select "SSH."
- Choose "Yes" to enable SSH and exit the configuration tool.
- Open the Raspberry Pi terminal and type
- Create an Empty SSH File:
- If you're using a headless setup, insert the SD card into your computer and create an empty file named
ssh(without any extension) in the boot partition.
- If you're using a headless setup, insert the SD card into your computer and create an empty file named
- Restart the Raspberry Pi:
- Reboot your Pi to apply the changes by running
sudo reboot.
- Reboot your Pi to apply the changes by running
Once SSH is enabled, you can test the connection locally using another device on the same network.
Configuring Your Router for Remote SSH Access
To access your Raspberry Pi over the internet, you need to configure your router to allow external connections. Here’s how:
- Find Your Raspberry Pi's Local IP Address:
- Run
hostname -Iin the Raspberry Pi terminal to find its local IP address.
- Run
- Access Your Router's Admin Panel:
- Open a browser and enter your router's gateway IP (e.g., 192.168.1.1).
- Log in using your admin credentials.
- Enable Remote Management:
- Look for a section labeled "Remote Management" or "Remote Access" and enable it.
These steps prepare your router for external SSH connections.
Setting Up Port Forwarding
Port forwarding is essential for directing incoming traffic to your Raspberry Pi. Follow these steps:
- Identify the SSH Port:
- By default, SSH uses port 22. You can change this for added security.
- Set Up Port Forwarding Rules:
- In your router's admin panel, navigate to the "Port Forwarding" section.
- Create a new rule to forward external port 22 (or your custom port) to your Raspberry Pi's local IP address.
- Save and Apply Changes:
- Save the configuration and restart your router if necessary.
Once port forwarding is set up, you can test the connection using your public IP address.
Using a Dynamic DNS Service
If your ISP assigns a dynamic IP address, consider using a Dynamic DNS (DDNS) service to maintain a consistent hostname. Popular DDNS providers include No-IP and DuckDNS. Here’s how to set it up:
- Create an Account:
- Sign up for a DDNS service and choose a hostname.
- Install DDNS Client on Raspberry Pi:
- Use tools like
ddclientto update your DDNS record automatically.
- Use tools like
- Test the DDNS Connection:
- Use the hostname to connect to your Raspberry Pi remotely.
A DDNS service ensures that your Pi remains accessible even if your IP address changes.
Troubleshooting SSH Connection Issues
If you're still unable to connect, follow these troubleshooting steps:
Checking Network Configuration
Verify that your Raspberry Pi is connected to the network and has a valid IP address. Run ping commands to test connectivity:
ping google.comto check internet access.ping [your-public-ip]to test external reachability.
Firewall and Security Settings
Ensure that firewalls are not blocking SSH traffic:
- Check your router's firewall settings and allow traffic on the SSH port.
- On the Raspberry Pi, use
sudo ufw allow sshto permit SSH connections.
These steps should help resolve most SSH connection issues.
Advanced Security Measures for SSH
To enhance security, consider implementing the following measures:
- Change the Default SSH Port: Use a non-standard port to reduce the risk of brute-force attacks.
- Disable Password Authentication: Use SSH keys for authentication instead of passwords.
- Limit Access with IP Whitelisting: Restrict SSH access to specific IP addresses.
These practices will make your Raspberry Pi more secure while maintaining remote accessibility.
Alternative Methods for Remote Access
If SSH is not working despite troubleshooting, consider these alternatives:
- Web-Based Interfaces: Use tools like Webmin for remote management.
- VPN Connections: Set up a VPN to securely access your local network.
- Cloud Services: Use platforms like AWS or Google Cloud for remote access.
These methods provide additional flexibility for managing your Raspberry Pi remotely.
Conclusion and Next Steps
Remote SSH access to your Raspberry Pi is a powerful feature that can enhance your project management capabilities. By following the steps outlined in this guide, you should be able to diagnose and resolve issues related to SSH connections over the internet. Remember to prioritize security by implementing advanced measures like SSH key authentication and port changes.
If you found this guide helpful, feel free to share it with others who might benefit. Additionally, explore our other articles for more tips on Raspberry Pi projects and configurations. Leave a comment below if you have any questions or need further assistance!