Are you struggling to remotely SSH into your Raspberry Pi over the internet? You're not alone. Many users face challenges when trying to access their Raspberry Pi remotely, especially when dealing with network configurations and security settings. This issue can be frustrating, but with the right guidance, you can resolve it effectively. In this article, we will explore the common reasons why remotely SSH Raspberry Pi over the internet might not be working and provide step-by-step solutions to fix it.
SSH (Secure Shell) is a critical tool for managing your Raspberry Pi remotely, allowing you to execute commands, transfer files, and monitor system performance without physical access. However, when SSH over the internet fails, it can disrupt workflows and limit your ability to manage your device efficiently. Understanding the root causes and implementing best practices can ensure a seamless remote connection.
In this guide, we will cover everything from basic troubleshooting steps to advanced configurations, ensuring that you have the expertise and tools to resolve this issue. Whether you're a beginner or an experienced user, this article is designed to provide authoritative and trustworthy information to help you overcome this challenge. Let's dive in and explore how to fix remotely SSH Raspberry Pi over the internet not working.
Read also:Zarna Garg Net Worth The Untold Journey To Success
Table of Contents
- Understanding SSH on Raspberry Pi
- Common Reasons for SSH Failures Over the Internet
- Step-by-Step Troubleshooting Guide
- Configuring Port Forwarding on Your Router
- Using a VPN for Secure Access
- Dynamic DNS Setup for Remote Access
- Firewall and Security Considerations
- Testing Your SSH Connection
- Advanced SSH Configuration Tips
- Conclusion and Next Steps
Understanding SSH on Raspberry Pi
SSH (Secure Shell) is a cryptographic network protocol that allows secure communication between two devices over an unsecured network. On a Raspberry Pi, SSH is commonly used for remote administration, enabling users to execute commands and manage the device from another computer. By default, SSH is disabled on Raspberry Pi OS for security reasons, but it can be easily enabled through the configuration menu or by creating an empty file named "ssh" in the boot partition.
To use SSH effectively, you need to know the IP address of your Raspberry Pi and ensure that both the client and server devices are connected to the same network. For remote access over the internet, additional configurations such as port forwarding, dynamic DNS, and firewall settings are required. Understanding these basics is essential before diving into troubleshooting remotely SSH Raspberry Pi over internet not working.
Key Benefits of SSH
- Secure remote access to your Raspberry Pi.
- Ability to execute commands and manage files remotely.
- Encryption ensures data transmitted over the network is protected.
- Supports automation and scripting for efficient workflows.
Common Reasons for SSH Failures Over the Internet
When remotely SSH Raspberry Pi over the internet is not working, several factors could be at play. Identifying the root cause is the first step toward resolving the issue. Below are the most common reasons for SSH failures:
1. Incorrect Port Forwarding Configuration
Port forwarding is essential for allowing external devices to connect to your Raspberry Pi over the internet. If the router's port forwarding settings are misconfigured, the connection will fail. Ensure that the correct port (default is 22 for SSH) is forwarded to the Raspberry Pi's local IP address.
2. Firewall Restrictions
Firewalls on both the Raspberry Pi and your router can block incoming SSH connections. Check the firewall settings to ensure that the SSH port is open and accessible.
3. Dynamic IP Address Changes
If your internet service provider assigns a dynamic IP address, it may change periodically, breaking your SSH connection. Using a Dynamic DNS (DDNS) service can help mitigate this issue by mapping a domain name to your changing IP address.
Read also:Unveiling The Remarkable Legacy Of Errol Musk The Visionary Father Of Elon Musk
4. Incorrect SSH Credentials
Using the wrong username, password, or SSH key can prevent successful authentication. Double-check your credentials and ensure they are entered correctly.
5. ISP Restrictions
Some internet service providers block certain ports, including the default SSH port (22). You may need to use an alternative port or contact your ISP for assistance.
Step-by-Step Troubleshooting Guide
When remotely SSH Raspberry Pi over the internet is not working, follow these steps to identify and resolve the issue:
Step 1: Verify SSH is Enabled on Raspberry Pi
Ensure that SSH is enabled on your Raspberry Pi. You can do this by running the following command:
sudo raspi-config
Navigate to "Interfacing Options" and enable SSH. Alternatively, create an empty file named "ssh" in the boot partition of your Raspberry Pi's SD card.
Step 2: Check Local Network Connectivity
Before attempting to connect over the internet, test SSH access on your local network. Use the Raspberry Pi's local IP address to establish a connection:
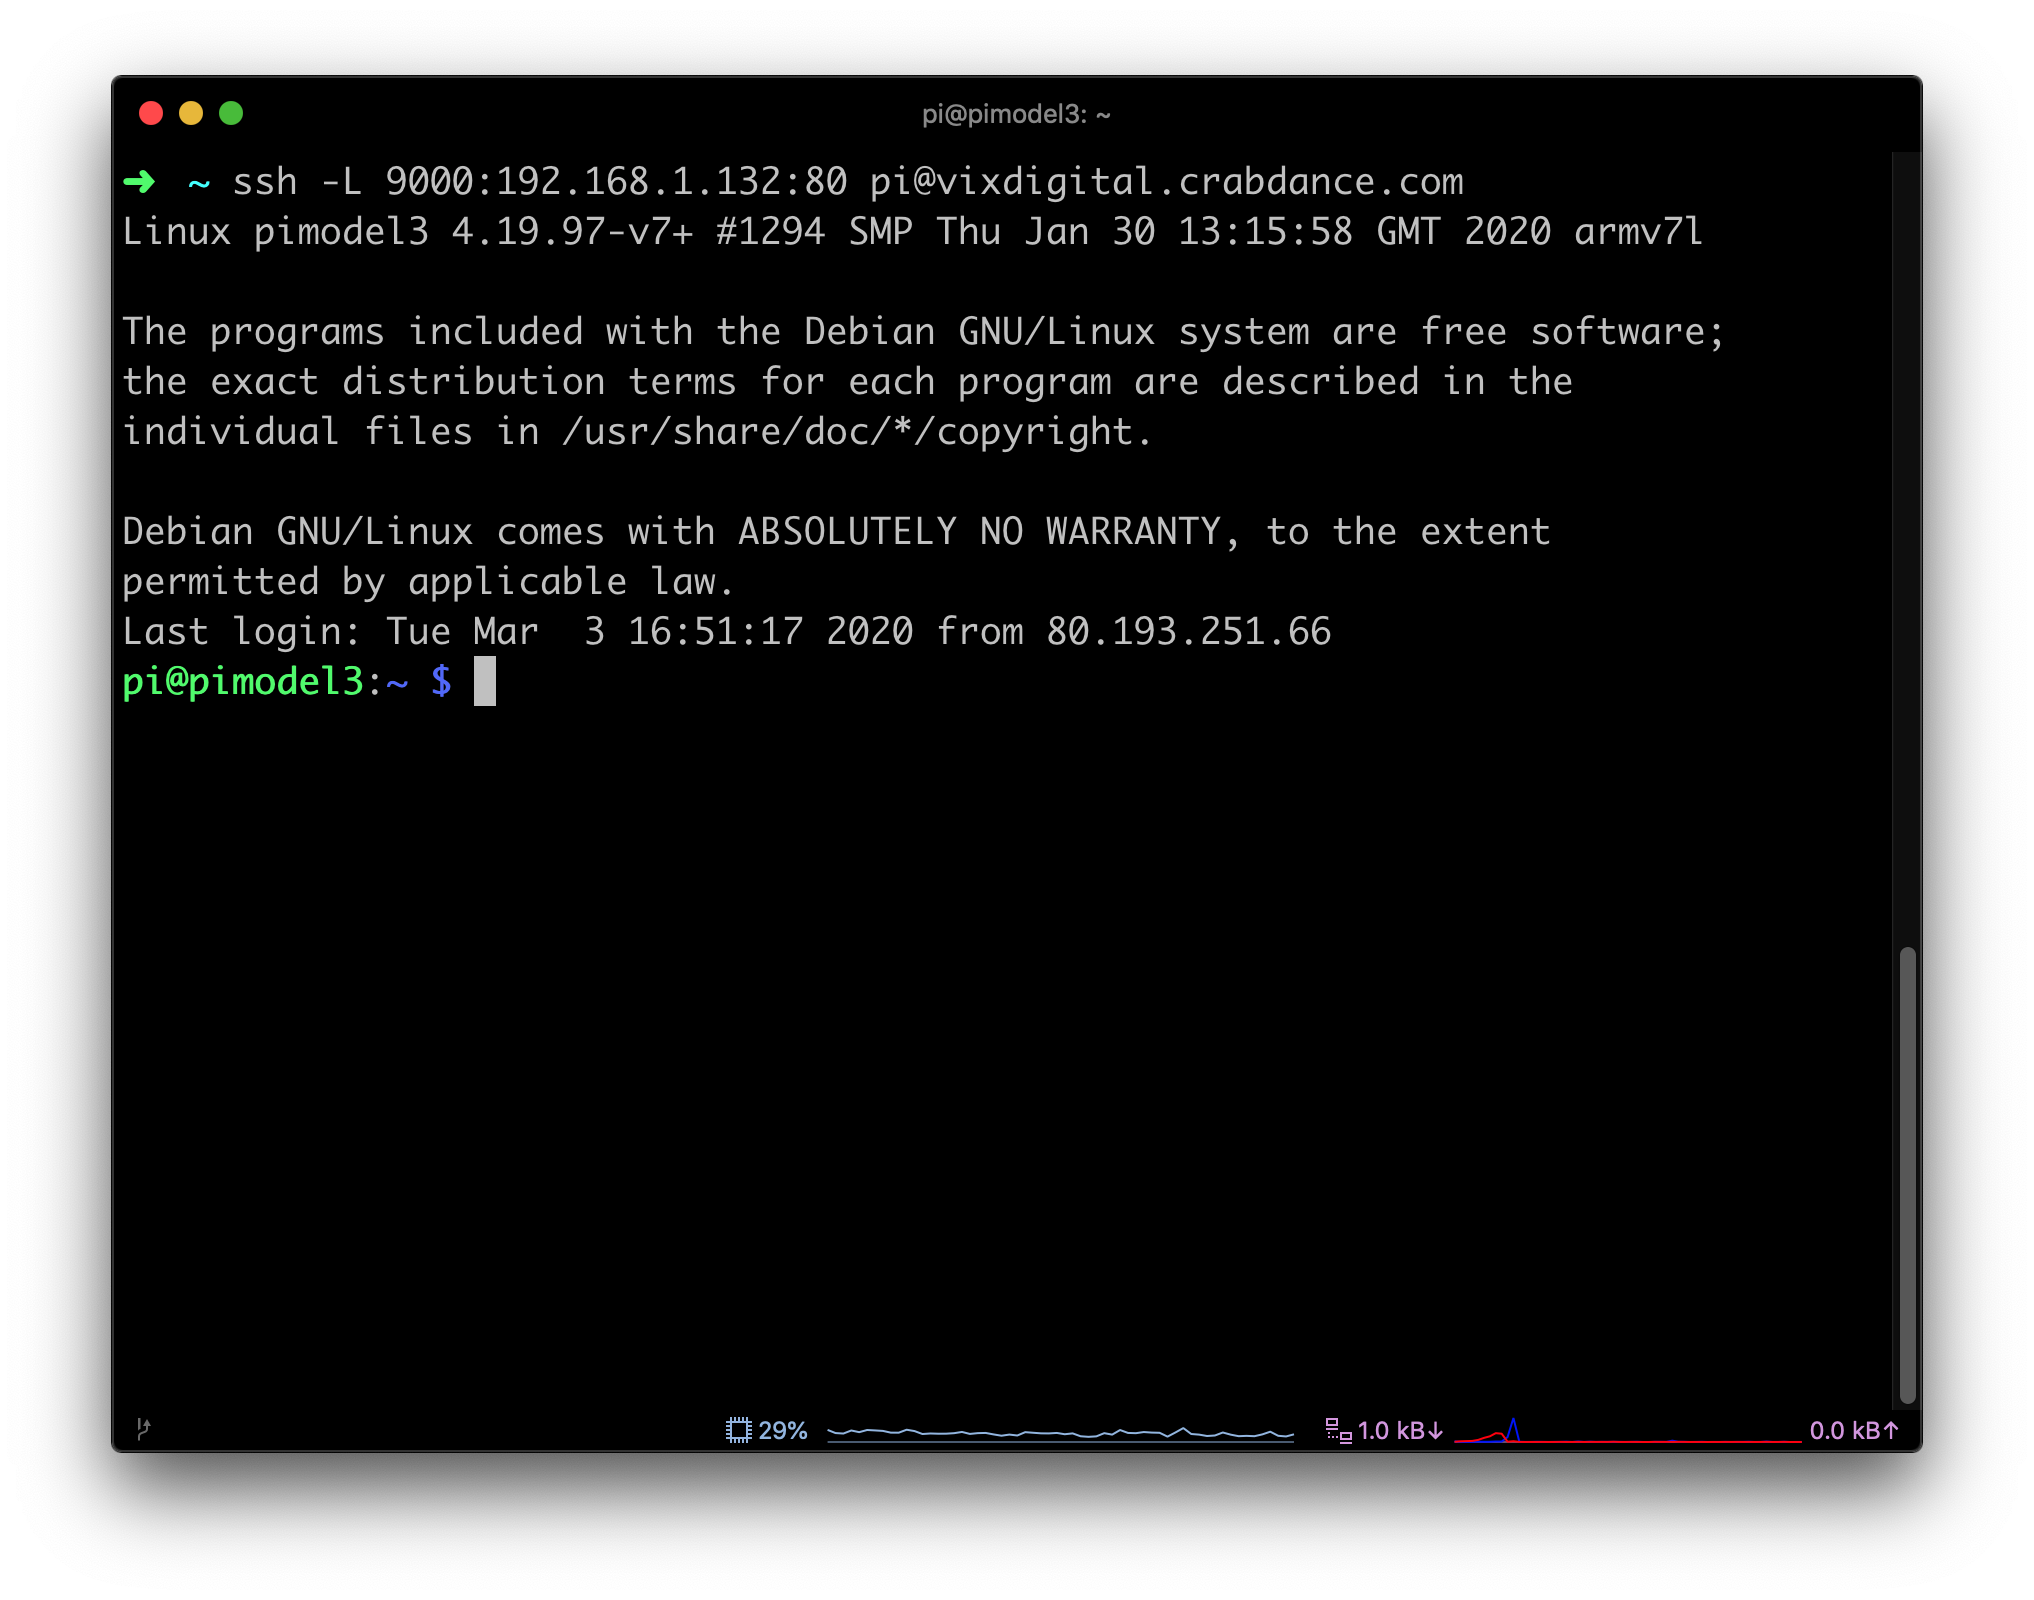
ssh pi@192.168.x.x
If this works, the issue lies with your internet or router configuration.
Step 3: Configure Port Forwarding
Access your router's admin panel and set up port forwarding. Forward port 22 (or an alternative port) to the Raspberry Pi's local IP address. Refer to your router's manual for specific instructions.
Step 4: Test the Connection
Use your public IP address to test the SSH connection:
ssh pi@your-public-ip
If the connection fails, proceed to the next steps.
Configuring Port Forwarding on Your Router
Port forwarding is a critical step in enabling remotely SSH Raspberry Pi over the internet. Without proper port forwarding, external devices cannot establish a connection to your Raspberry Pi. Follow these steps to configure port forwarding on your router:
Step 1: Access Your Router's Admin Panel
Open a web browser and enter your router's IP address (commonly 192.168.1.1 or 192.168.0.1). Log in using your admin credentials.
Step 2: Locate the Port Forwarding Section
Navigate to the port forwarding or virtual server settings. This section may vary depending on your router model.
Step 3: Add a New Rule
Create a new rule with the following details:
- External Port: 22 (or an alternative port).
- Internal Port: 22.
- Internal IP Address: Your Raspberry Pi's local IP address.
- Protocol: TCP.
Step 4: Save and Apply Changes
Save the configuration and restart your router if necessary. Test the SSH connection using your public IP address.
Using a VPN for Secure Access
A Virtual Private Network (VPN) provides a secure and encrypted connection to your Raspberry Pi, eliminating the need for port forwarding. By connecting to your home network via a VPN, you can access your Raspberry Pi as if you were on the local network.
Benefits of Using a VPN
- Enhanced security and privacy.
- No need to configure port forwarding.
- Protection against ISP restrictions.
Setting Up a VPN
Install a VPN server on your Raspberry Pi or use a third-party service. Configure your client device to connect to the VPN, and then access your Raspberry Pi using its local IP address.
Dynamic DNS Setup for Remote Access
If your internet service provider assigns a dynamic IP address, a Dynamic DNS (DDNS) service can map a domain name to your changing IP address. This ensures that you can always connect to your Raspberry Pi, even if the IP address changes.
Popular DDNS Services
- No-IP
- DuckDNS
- FreeDNS
Setting Up DDNS
Create an account with a DDNS provider and configure your router or Raspberry Pi to update the DDNS record automatically. Use the domain name provided by the DDNS service to connect to your Raspberry Pi.
Firewall and Security Considerations
When enabling remotely SSH Raspberry Pi over the internet, it's crucial to prioritize security. Follow these best practices to protect your device:
1. Use Strong Passwords
Ensure that your Raspberry Pi's user account has a strong, unique password. Avoid using default credentials.
2. Enable Key-Based Authentication
Use SSH keys instead of passwords for authentication. This method is more secure and resistant to brute-force attacks.
3. Change the Default SSH Port
Modify the default SSH port (22) to a non-standard port to reduce the risk of automated attacks.
4. Regularly Update Your System
Keep your Raspberry Pi's operating system and software up to date to patch vulnerabilities and improve security.
Testing Your SSH Connection
Once you've completed the necessary configurations, test your SSH connection to ensure everything is working correctly. Use the following command:
ssh pi@your-public-ip
If the connection is successful, you should see the Raspberry Pi's command prompt. If not, review your settings and troubleshoot further.
Advanced SSH Configuration Tips
For users looking to optimize their SSH setup, consider the following advanced configurations:
1. Disable Password Authentication
Edit the SSH configuration file (/etc/ssh/sshd_config) and set PasswordAuthentication to "no" to enforce key-based authentication.
2. Use Fail2Ban
Install Fail2Ban to monitor and block suspicious login attempts. This tool helps protect your Raspberry Pi from brute-force attacks.
3. Configure SSH Timeout
Adjust the SSH timeout settings to automatically disconnect idle sessions, improving security and resource management.
Conclusion and Next Steps
Remotely SSH Raspberry Pi over the internet not working can be a challenging issue, but with the right approach, it can be resolved effectively. By understanding the common causes and following the step-by-step troubleshooting guide provided in this article, you can establish a secure and reliable remote connection to your Raspberry Pi.
Remember to prioritize security by using strong passwords, enabling key-based authentication, and keeping your system updated. Additionally, consider using a VPN or DDNS service for enhanced convenience and protection.
If you found this guide helpful, please share it with others who may benefit from it. For more tips and tutorials, explore our other articles on Raspberry Pi and remote access technologies. Leave a comment below to share your experiences or ask questions—we're here to help!