Are you looking to transform your Raspberry Pi into a powerful remote control? With its versatility and affordability, the Raspberry Pi has become a popular choice for tech enthusiasts and DIY hobbyists alike. Whether you want to control your smart home devices, stream media, or manage your computer remotely, the Raspberry Pi can be your ultimate tool. In this guide, we will walk you through everything you need to know about setting up and using your Raspberry Pi as a remote control.
Raspberry Pi is not just a tiny computer; it’s a gateway to endless possibilities. From automating tasks to creating custom remote solutions, the Raspberry Pi’s flexibility makes it an ideal choice for both beginners and advanced users. In this article, we will explore how you can harness the power of Raspberry Pi to create a remote control system tailored to your needs.
By the end of this guide, you will have a clear understanding of how to set up your Raspberry Pi, configure it for remote access, and use it to control various devices and systems. Let’s dive into the details and unlock the full potential of your Raspberry Pi!
Read also:Jordan Cameron The Rising Star Redefining Modern Success
Table of Contents
- Introduction to Raspberry Pi
- Why Use Raspberry Pi as a Remote Control?
- Setting Up Your Raspberry Pi
- Configuring Remote Access
- Using Raspberry Pi for Smart Home Control
- Raspberry Pi as a Media Remote
- Advanced Remote Control Applications
- Troubleshooting Common Issues
- Best Practices for Raspberry Pi Remote Control
- Conclusion
Introduction to Raspberry Pi
Raspberry Pi is a single-board computer developed by the Raspberry Pi Foundation. It was originally designed to promote the teaching of basic computer science in schools but has since evolved into a versatile tool for hobbyists, developers, and professionals. With its compact size, low power consumption, and affordability, Raspberry Pi has become a go-to solution for a wide range of projects.
At its core, Raspberry Pi is a fully functional computer that can run various operating systems, including Raspberry Pi OS (formerly Raspbian), Ubuntu, and even Windows IoT. It comes equipped with GPIO (General Purpose Input/Output) pins, HDMI ports, USB ports, and wireless connectivity options, making it highly adaptable for different applications.
Key Features of Raspberry Pi
- Compact and portable design
- Supports multiple operating systems
- GPIO pins for hardware interfacing
- Built-in Wi-Fi and Bluetooth
- Low power consumption
Why Use Raspberry Pi as a Remote Control?
Using Raspberry Pi as a remote control offers numerous advantages. Its small form factor, combined with its computing power, makes it an ideal candidate for remote control applications. Here are some reasons why you should consider using Raspberry Pi for this purpose:
- Cost-Effective: Compared to dedicated remote control devices, Raspberry Pi is significantly cheaper while offering more functionality.
- Customizable: You can program Raspberry Pi to perform specific tasks tailored to your needs.
- Versatile: From controlling smart home devices to managing media playback, Raspberry Pi can handle a wide range of remote control tasks.
- Expandable: With its GPIO pins and compatibility with various accessories, Raspberry Pi can be expanded to suit advanced applications.
Real-World Applications of Raspberry Pi Remote Control
Raspberry Pi can be used in numerous real-world scenarios, such as:
- Controlling smart home devices like lights, thermostats, and security cameras
- Streaming media to TVs or projectors
- Managing remote servers or computers
- Creating custom remote control interfaces for robotics or IoT projects
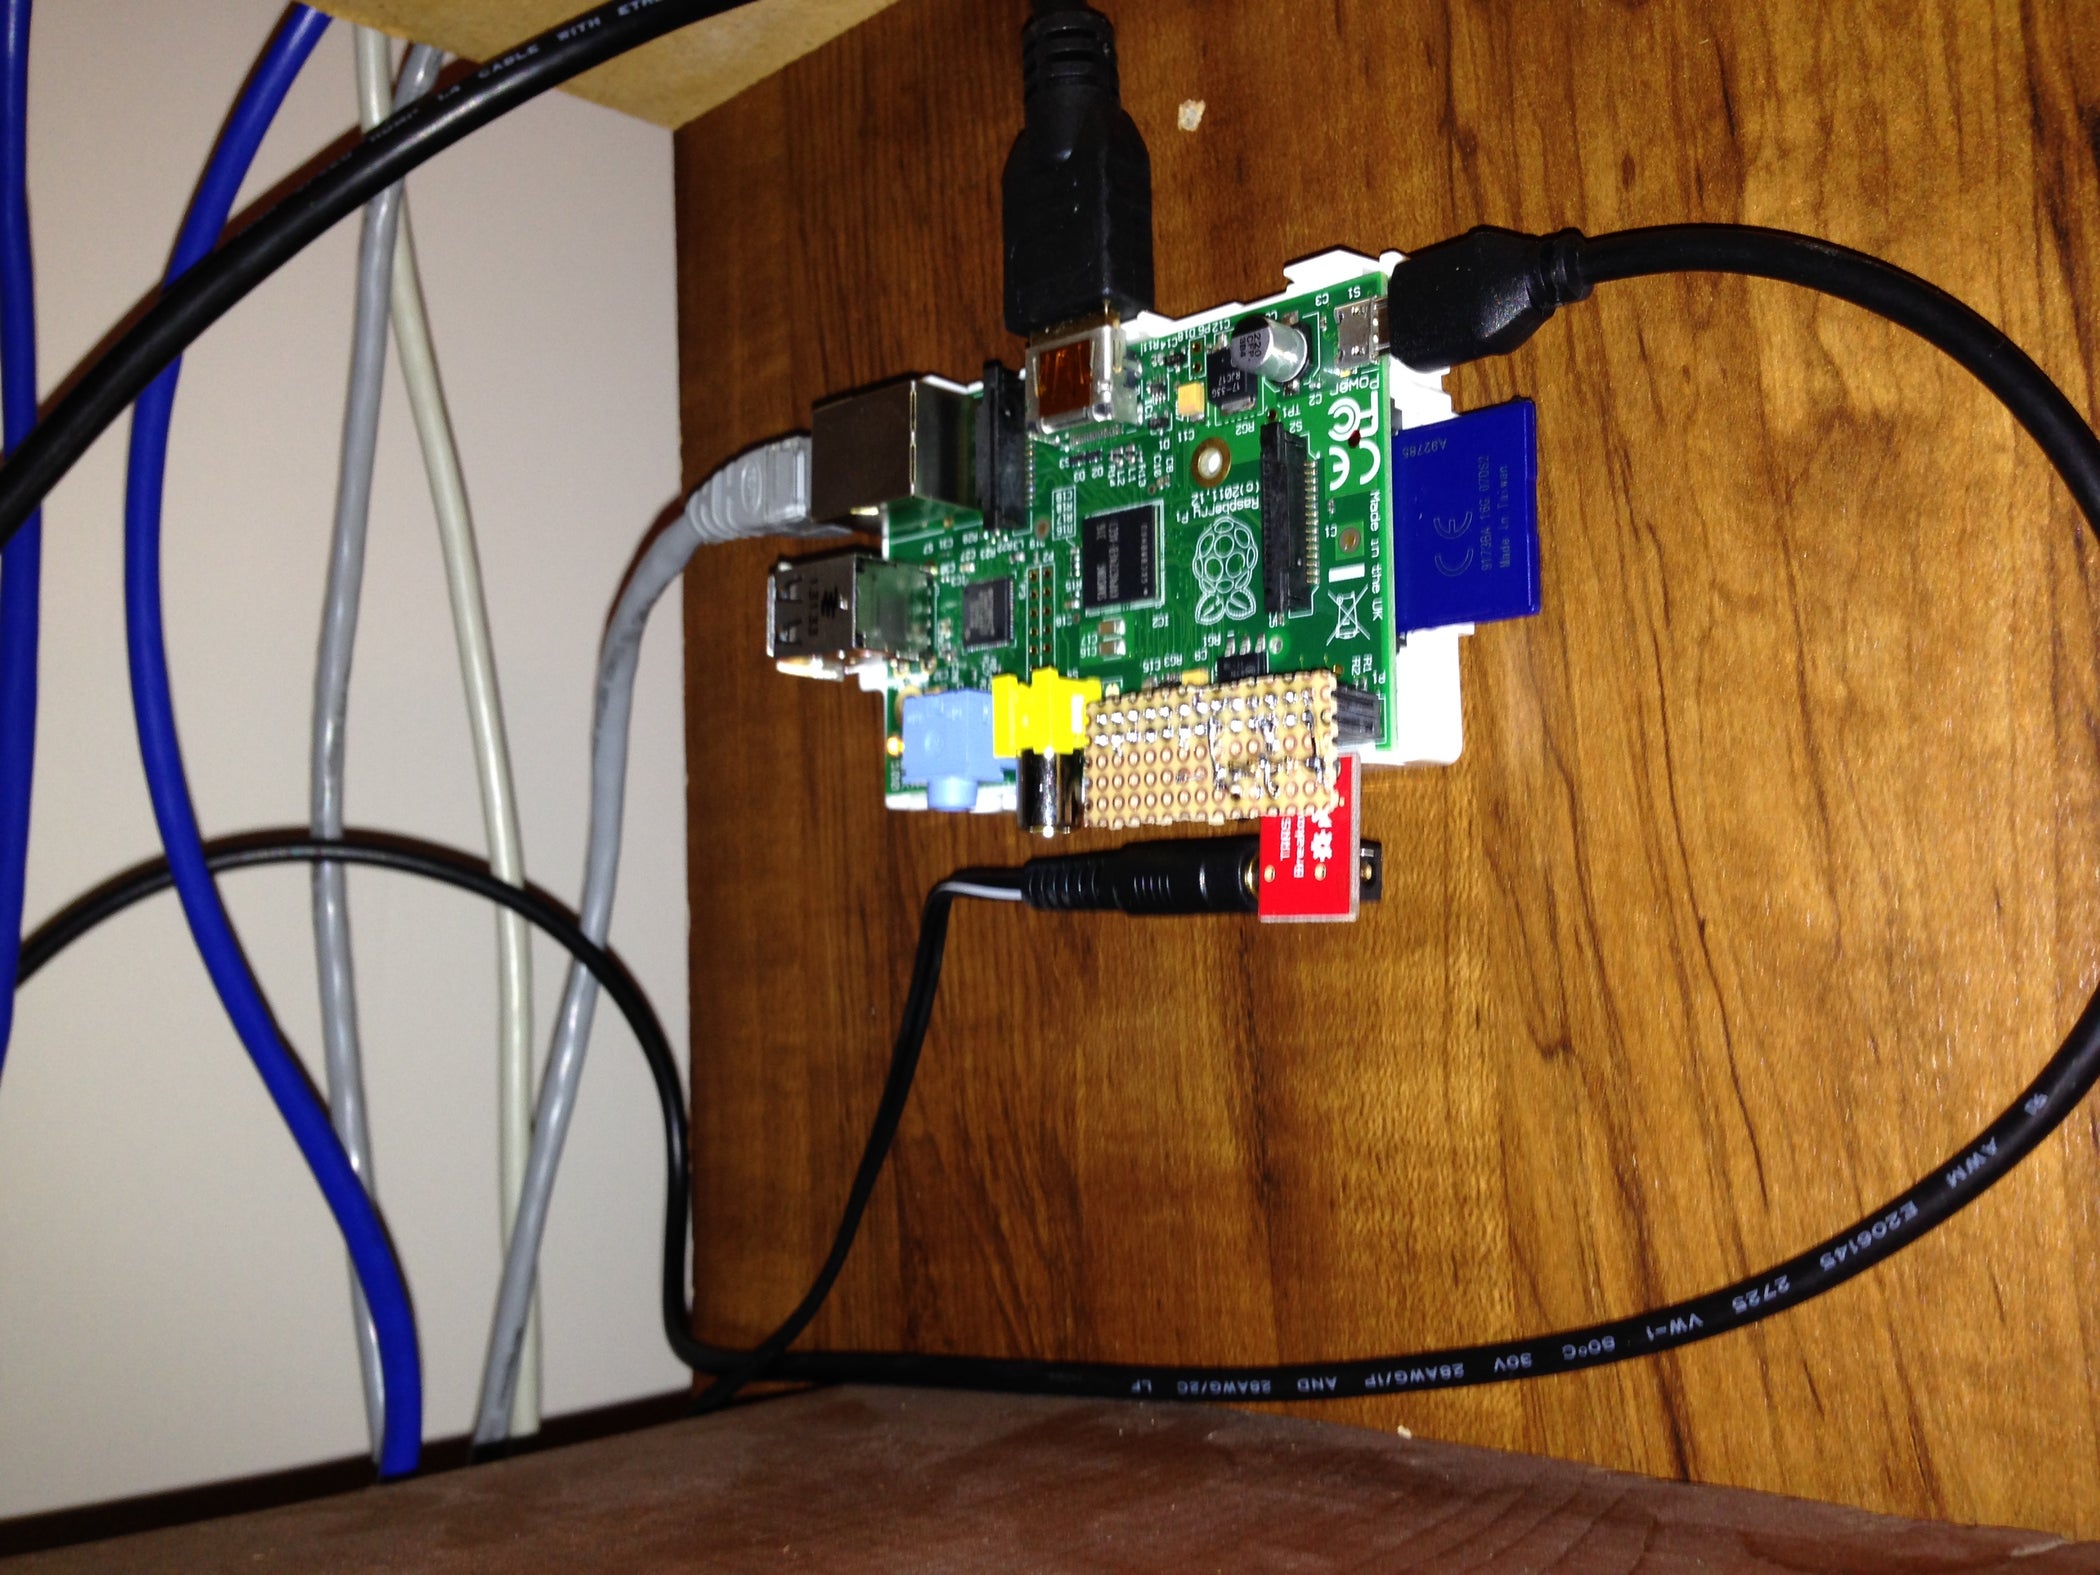
Setting Up Your Raspberry Pi
Before you can use Raspberry Pi as a remote control, you need to set it up properly. This involves installing the operating system, configuring the hardware, and ensuring that it is ready for remote access. Follow these steps to get started:
Step 1: Gather Your Materials
You will need the following components to set up your Raspberry Pi:
Read also:Unveiling The Heartfelt Truth Behind Simon Cowells Sad News
- Raspberry Pi board (any model with Wi-Fi and Bluetooth)
- MicroSD card (minimum 16GB recommended)
- Power supply
- HDMI cable and monitor (for initial setup)
- Keyboard and mouse
Step 2: Install the Operating System
Raspberry Pi OS is the most popular operating system for Raspberry Pi. To install it:
- Download the Raspberry Pi Imager tool from the official website.
- Insert the microSD card into your computer.
- Use the Raspberry Pi Imager to write the Raspberry Pi OS image to the microSD card.
- Insert the microSD card into your Raspberry Pi and power it on.
Step 3: Initial Configuration
Once the operating system is installed, you need to configure some basic settings:
- Set the correct time zone and language.
- Enable SSH for remote access (via the Raspberry Pi Configuration tool).
- Connect to your Wi-Fi network.
Configuring Remote Access
Remote access is essential for using Raspberry Pi as a remote control. By enabling remote access, you can control your Raspberry Pi from another device, such as a laptop or smartphone, without needing to be physically present near the device.
Enable SSH for Remote Access
SSH (Secure Shell) allows you to access the Raspberry Pi’s command line remotely. To enable SSH:
- Open the Raspberry Pi Configuration tool.
- Navigate to the "Interfaces" tab and enable SSH.
- Restart your Raspberry Pi.
Use VNC for Graphical Remote Access
If you prefer a graphical interface, you can use VNC (Virtual Network Computing). Follow these steps:
- Install the VNC server on your Raspberry Pi.
- Enable VNC in the Raspberry Pi Configuration tool.
- Download and install a VNC client on your remote device.
- Connect to your Raspberry Pi using the VNC client.
Using Raspberry Pi for Smart Home Control
Raspberry Pi is an excellent platform for controlling smart home devices. Whether you want to automate your lights, control your thermostat, or monitor your security cameras, Raspberry Pi can serve as the central hub for your smart home.
Integrate with Smart Home Platforms
Raspberry Pi can be integrated with popular smart home platforms like Home Assistant, OpenHAB, and Node-RED. These platforms provide user-friendly interfaces and support a wide range of devices.
Control Devices via GPIO Pins
For devices that are not Wi-Fi-enabled, you can use the GPIO pins on Raspberry Pi to control them. For example, you can connect relays to the GPIO pins to turn appliances on and off.
Raspberry Pi as a Media Remote
Raspberry Pi can also be used as a media remote to stream content to your TV or projector. By installing media server software like Kodi or Plex, you can transform your Raspberry Pi into a powerful media center.
Set Up Kodi on Raspberry Pi
Kodi is a popular open-source media player that can be installed on Raspberry Pi. Follow these steps:
- Download the Kodi image for Raspberry Pi.
- Write the image to a microSD card using the Raspberry Pi Imager.
- Insert the microSD card into your Raspberry Pi and power it on.
Stream Media to Your TV
Once Kodi is set up, you can use it to stream movies, TV shows, and music to your TV. You can also control Kodi remotely using a smartphone app.
Advanced Remote Control Applications
For those looking to take their Raspberry Pi remote control projects to the next level, there are numerous advanced applications to explore.
Robotics and IoT Projects
Raspberry Pi can be used to control robots and IoT devices. By connecting sensors, motors, and actuators to the GPIO pins, you can create custom remote control solutions for robotics and automation projects.
Remote Server Management
Raspberry Pi can also be used to manage remote servers. By installing server management tools like Cockpit or Webmin, you can monitor and control your servers from anywhere.
Troubleshooting Common Issues
While Raspberry Pi is a reliable platform, you may encounter some issues when setting it up or using it as a remote control. Here are some common problems and their solutions:
SSH Connection Issues
If you are unable to connect to your Raspberry Pi via SSH, ensure that:
- SSH is enabled on the Raspberry Pi.
- You are using the correct IP address.
- Your firewall is not blocking the connection.
Wi-Fi Connectivity Problems
If your Raspberry Pi is not connecting to Wi-Fi, try the following:
- Check the Wi-Fi credentials in the configuration file.
- Restart the Raspberry Pi.
- Use a wired Ethernet connection as a temporary solution.
Best Practices for Raspberry Pi Remote Control
To ensure a smooth and secure remote control experience with Raspberry Pi, follow these best practices:
- Keep your operating system and software up to date.
- Use strong passwords for SSH and other remote access methods.
- Regularly back up your data to prevent loss in case of hardware failure.
- Monitor your Raspberry Pi’s performance to identify and resolve issues early.
Conclusion
Raspberry Pi is a powerful and versatile tool that can be used as a remote control for a wide range of applications. From controlling smart home devices to managing media playback, the possibilities are endless. By following the steps outlined in this guide, you can set up and use your Raspberry Pi as a remote control with ease.
We hope this article has provided you with valuable insights and practical tips for using Raspberry Pi as a remote control. If you found this guide helpful, feel free to leave a comment, share it with others, or explore more articles on our website. Happy tinkering!