Remote internet access Raspberry Pi has become a cornerstone for tech enthusiasts, developers, and businesses alike. This versatile single-board computer opens up endless possibilities for remote management, automation, and monitoring. Whether you're managing a home server, running IoT devices, or conducting remote experiments, Raspberry Pi offers a cost-effective and flexible solution. In this article, we will explore everything you need to know about setting up, securing, and optimizing remote internet access for your Raspberry Pi.
As remote work and smart home technologies continue to grow, understanding how to effectively use Raspberry Pi for remote access becomes increasingly important. This guide will walk you through the entire process, from basic setup to advanced security measures, ensuring you can safely and efficiently manage your device from anywhere in the world. We'll also discuss various tools and methods that can enhance your remote access experience.
Throughout this article, we'll address common challenges users face when setting up remote access and provide practical solutions. We'll also discuss important considerations for maintaining security and protecting your data. By the end of this guide, you'll have a comprehensive understanding of how to implement and maintain remote internet access for your Raspberry Pi, making it a valuable resource for both beginners and experienced users.
Read also:Mastering Secure Connections Troubleshooting Remoteiot P2p Ssh On Android
Table of Contents
- Understanding Remote Access for Raspberry Pi
- Initial Setup for Remote Access
- Configuring SSH for Secure Access
- Setting Up VNC for Graphical Interface
- Understanding and Configuring Port Forwarding
- Implementing Dynamic DNS for Remote Access
- Essential Security Measures for Remote Access
- Exploring Remote Desktop Alternatives
- Troubleshooting Common Remote Access Issues
- Advanced Techniques and Tools
- Conclusion and Next Steps
Understanding Remote Access for Raspberry Pi
Remote internet access Raspberry Pi enables users to control and manage their devices from any location with an internet connection. This capability is particularly valuable for various applications, including home automation systems, remote monitoring solutions, and distributed computing networks. The fundamental concept involves establishing a secure connection between your local device and the Raspberry Pi, allowing you to execute commands, transfer files, and monitor system performance remotely.
There are several methods for achieving remote access, each with its own advantages and considerations. The most common approaches include Secure Shell (SSH) for command-line interface, Virtual Network Computing (VNC) for graphical desktop access, and web-based interfaces for specific applications. Understanding these options is crucial for selecting the most appropriate method based on your specific requirements and technical expertise.
When considering remote access solutions, it's important to evaluate factors such as network configuration, security requirements, and intended usage patterns. For instance, users managing multiple devices might prioritize automation capabilities, while those working on sensitive projects would focus on enhanced security measures. This section will provide a comprehensive overview of these considerations, helping you make informed decisions about your remote access setup.
Initial Setup for Remote Access
Before establishing remote internet access Raspberry Pi, several preparatory steps are necessary to ensure smooth operation and security. The initial setup process involves both hardware configuration and software installation, creating a solid foundation for subsequent remote access implementation.
Hardware and Software Requirements
- Raspberry Pi model (preferably Pi 4 or newer)
- MicroSD card (minimum 16GB recommended)
- Power supply (official Raspberry Pi adapter)
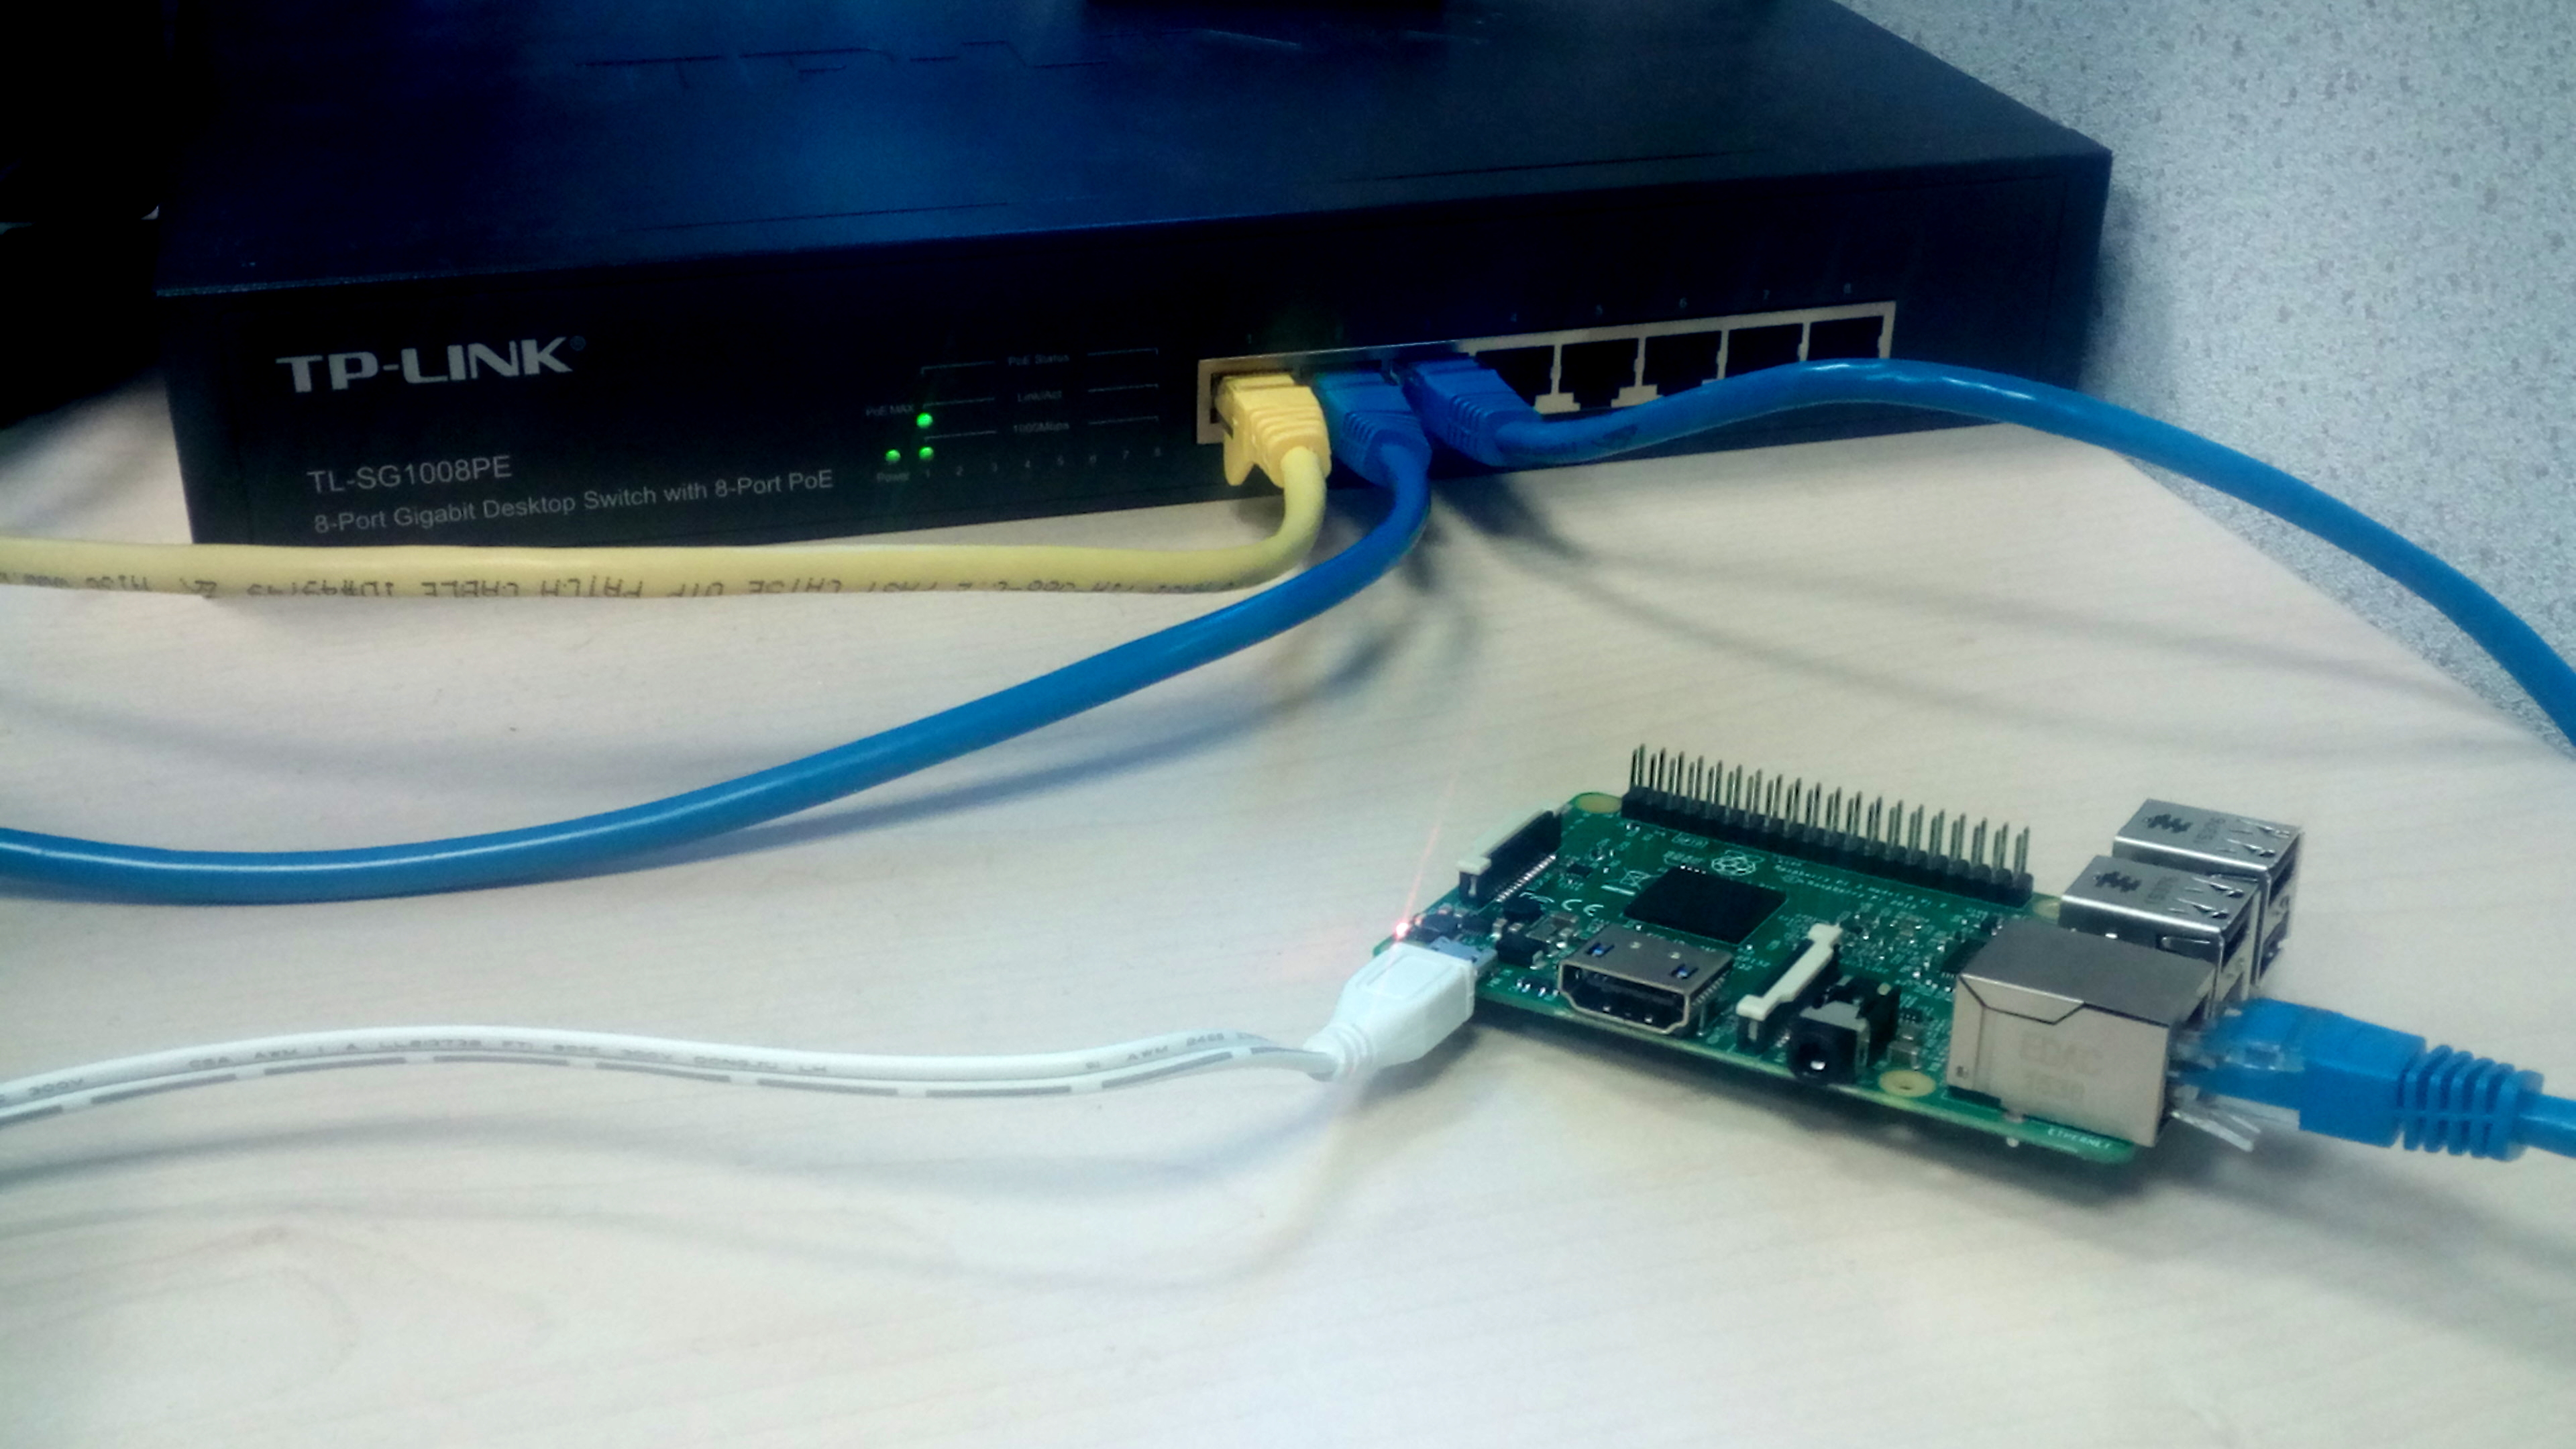
- Network connection (Ethernet preferred for stability)
- Raspberry Pi OS (latest version)
- SD card reader for initial setup
Begin by installing the latest version of Raspberry Pi OS on your microSD card using the Raspberry Pi Imager tool. During the initial boot, connect your Pi to a monitor and keyboard to complete the basic configuration. This includes setting up your user account, configuring regional settings, and enabling necessary services through the raspi-config utility.
Network Configuration Essentials
Proper network setup is crucial for successful remote access. Assign a static IP address to your Raspberry Pi within your local network to ensure consistent connectivity. You can achieve this through your router's DHCP reservation settings or by configuring the Pi's network interface directly. Additionally, verify that your Pi has internet access and can resolve domain names correctly by testing with commands like ping and nslookup.
Read also:Unlocking The Mysteries Of Desi49 A Comprehensive Guide
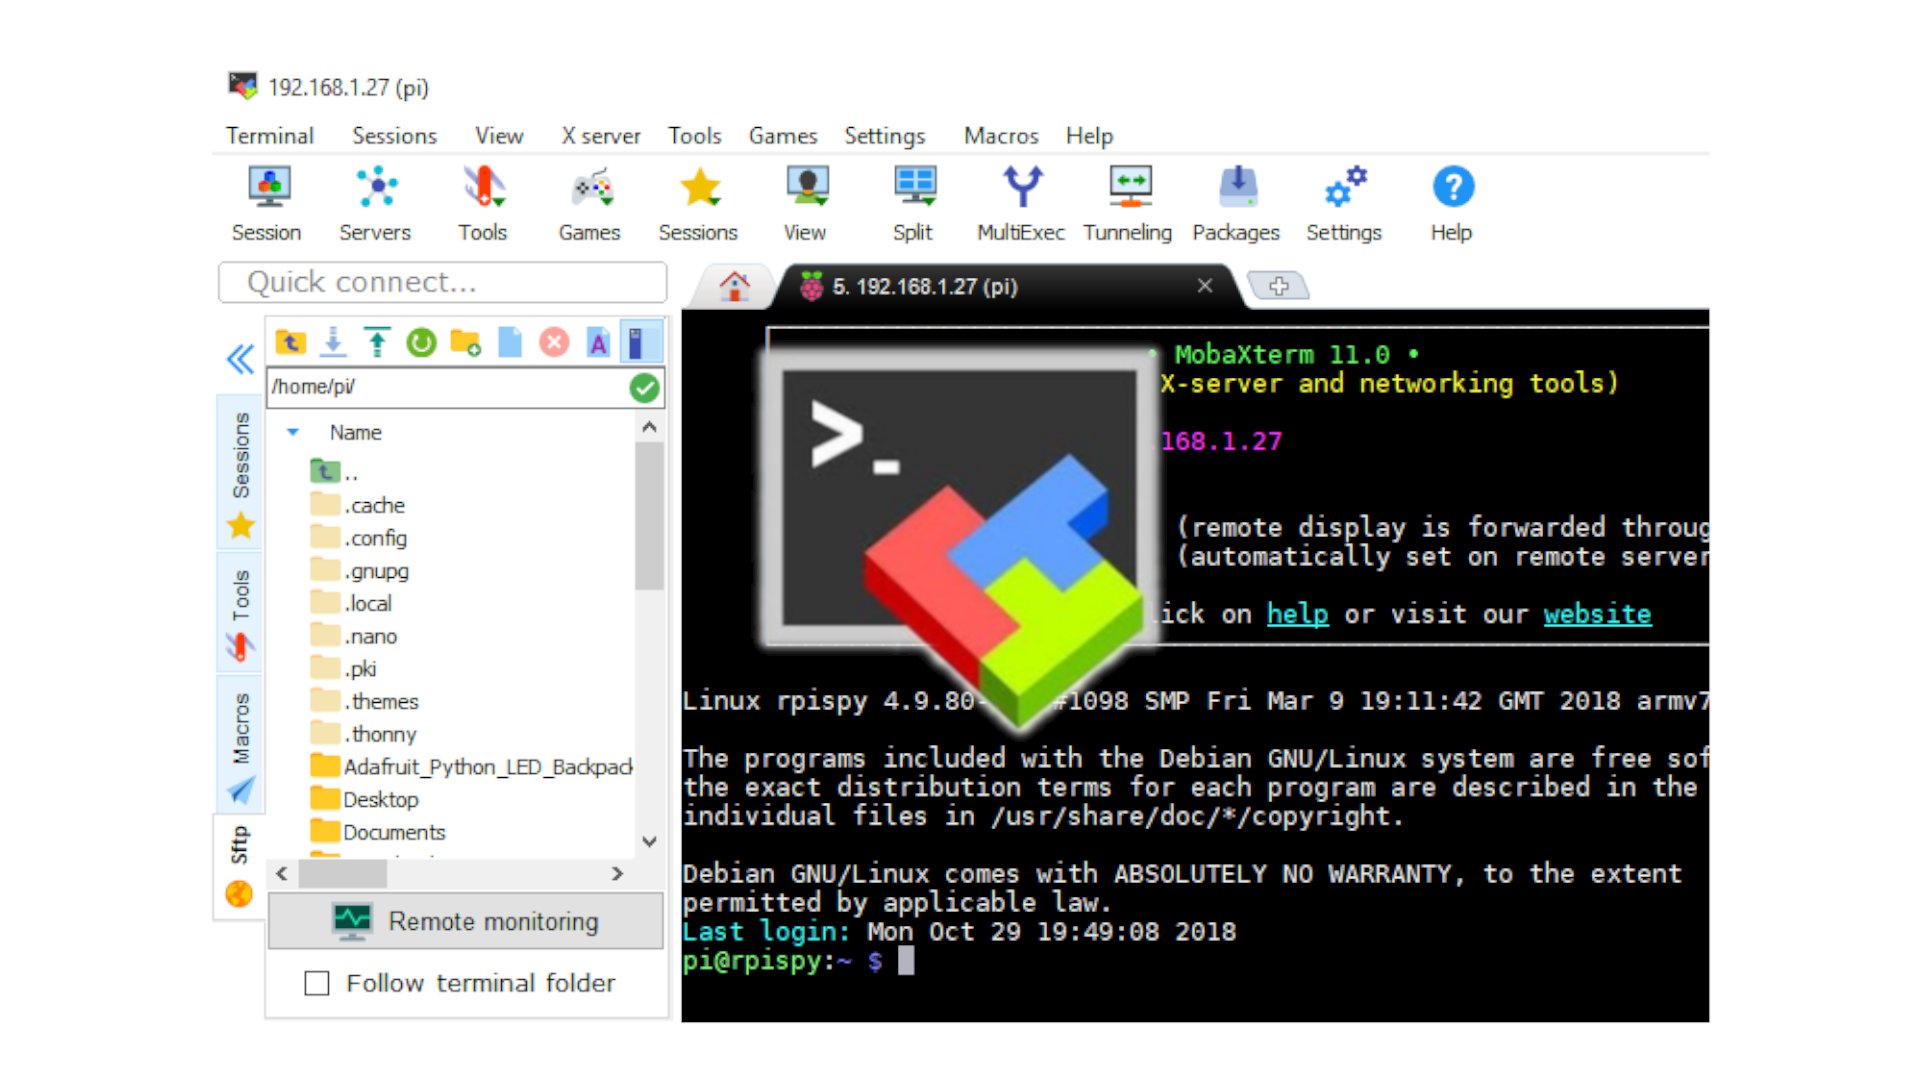
Configuring SSH for Secure Access
Secure Shell (SSH) represents one of the most fundamental methods for remote internet access Raspberry Pi. This protocol provides a secure channel over an unsecured network, allowing you to execute commands and manage files remotely. Proper SSH configuration is essential for both functionality and security.
Enabling and Securing SSH
To enable SSH, use the raspi-config tool or create an empty file named "ssh" in the boot partition of your SD card. For enhanced security, modify the default SSH port from 22 to a custom number and implement key-based authentication instead of password authentication. Generate SSH keys using tools like ssh-keygen and copy the public key to your Pi's authorized_keys file.
Advanced SSH Configuration
- Implement fail2ban to prevent brute-force attacks
- Configure SSH timeout settings
- Use SSH tunneling for secure data transfer
- Set up SSH agent forwarding
Regularly update your SSH configuration and monitor access logs to maintain security. Consider implementing two-factor authentication (2FA) for additional protection. These measures will help ensure that your remote access remains both functional and secure.
Setting Up VNC for Graphical Interface
For users requiring a graphical interface, Virtual Network Computing (VNC) provides an excellent solution for remote internet access Raspberry Pi. This technology enables you to view and control your Pi's desktop environment from any device with a VNC client installed.
Installing and Configuring VNC Server
Begin by installing RealVNC Server, which comes pre-installed with Raspberry Pi OS. Enable the VNC service through the Raspberry Pi Configuration tool or using systemctl commands. Set a strong password for VNC access and consider enabling encryption for data transmission. Adjust display settings to optimize performance based on your network conditions.
Optimizing VNC Performance
- Use compression settings appropriate for your bandwidth
- Adjust color depth and quality settings
- Enable direct connections when possible
- Configure automatic resolution adjustment
For enhanced security, combine VNC with SSH tunneling to encrypt your remote desktop sessions. Regularly update your VNC server software and monitor connection logs to detect any suspicious activity.
Understanding and Configuring Port Forwarding
Port forwarding plays a crucial role in enabling remote internet access Raspberry Pi from external networks. This process involves configuring your router to direct incoming traffic on specific ports to your Pi's local IP address, allowing external connections to reach your device.
Basic Port Forwarding Configuration
Access your router's administration interface and navigate to the port forwarding section. Create rules for necessary services, such as SSH (port 22) and VNC (port 5900). Use your Pi's static local IP address as the destination and specify both internal and external port numbers. Test your configuration using external network tools to verify proper forwarding.
Security Considerations for Port Forwarding
- Use non-standard ports for common services
- Implement firewall rules to restrict access
- Limit source IP addresses when possible
- Regularly review and update forwarding rules
While port forwarding enables remote access, it also creates potential security vulnerabilities. Implement strict access controls and monitor your router's logs regularly to detect any unauthorized access attempts.
Implementing Dynamic DNS for Remote Access
Dynamic DNS (DDNS) services provide a practical solution for maintaining remote internet access Raspberry Pi when dealing with dynamic public IP addresses. These services map a custom domain name to your changing IP address, ensuring consistent connectivity without manual updates.
Selecting and Configuring DDNS
Choose a reliable DDNS provider and create an account. Popular options include No-IP, Dynu, and DuckDNS. Install the DDNS client on your Raspberry Pi and configure it with your account credentials. Set up automatic updates to ensure your domain always points to the correct IP address. Test your DDNS configuration by accessing your Pi through the custom domain name.
Advanced DDNS Considerations
- Use encrypted connections for DDNS updates
- Implement DNSSEC for enhanced security
- Monitor DDNS update frequency
- Consider using multiple DDNS providers for redundancy
Integrate your DDNS setup with other remote access methods for seamless connectivity. Regularly verify your DDNS configuration and update credentials as needed to maintain security and reliability.
Essential Security Measures for Remote Access
Protecting your remote internet access Raspberry Pi requires implementing multiple layers of security to prevent unauthorized access and data breaches. These measures are particularly crucial for maintaining the integrity of your system and protecting sensitive information.
Implementing Firewall Rules
Use tools like UFW (Uncomplicated Firewall) to create and manage firewall rules. Block all incoming traffic by default and only allow necessary ports. Regularly review and update your firewall configuration to adapt to changing security requirements. Consider implementing rate limiting to prevent brute-force attacks on your services.
Regular System Maintenance
- Keep your Raspberry Pi OS and all software up to date
- Regularly review system logs for suspicious activity
- Implement automatic security updates
- Perform regular backups of critical data
Conduct periodic security audits and vulnerability assessments to identify and address potential weaknesses. Implement intrusion detection systems (IDS) to monitor for suspicious behavior and receive alerts about potential security incidents.
Exploring Remote Desktop Alternatives
Beyond traditional VNC, several alternative solutions exist for remote internet access Raspberry Pi desktop environments. These options offer different features and performance characteristics, catering to various use cases and preferences.
Popular Remote Desktop Solutions
Consider alternatives such as XRDP, TeamViewer, or AnyDesk for remote desktop access. XRDP provides native RDP support for Windows clients, while TeamViewer and AnyDesk offer cross-platform solutions with additional features like file transfer and session recording. Evaluate these options based on factors such as performance, security, and ease of use.
Comparison of Remote Desktop Options
| Solution | Platform Support | Performance | Security Features | Cost |
|---|---|---|---|---|
| XRDP | Multi-platform | High | Basic encryption | Free |
| TeamViewer | Multi-platform | Medium | End-to-end encryption | Free for personal use |
| AnyDesk | Multi-platform | High | Banking-standard encryption | Free for personal use |
Choose the solution that best aligns with your specific requirements, considering factors such as network conditions, security needs, and intended usage patterns.
Troubleshooting Common Remote Access Issues
Despite careful configuration, users may encounter various challenges when setting up remote internet access Raspberry Pi. Understanding common issues and their solutions can help ensure smooth operation and minimize downtime.
Connection Problems and Solutions
Network connectivity issues often stem from firewall misconfigurations, incorrect port forwarding settings, or ISP restrictions. Verify your router's configuration, check firewall rules, and confirm that necessary ports are open. Use network diagnostic tools like traceroute and netstat to identify connection bottlenecks.
Performance Optimization Techniques
- Adjust compression settings for better performance