Are you looking to create a remote Raspberry Pi IoT project without breaking the bank? You're in the right place! Raspberry Pi, a versatile and affordable single-board computer, has become a cornerstone for IoT enthusiasts and professionals alike. With its ability to connect and control devices remotely, Raspberry Pi empowers users to build innovative IoT solutions. In this article, we’ll explore how you can leverage Raspberry Pi for remote IoT projects without incurring additional costs. From setup to execution, we’ll cover everything you need to know to succeed in this exciting domain.
The Internet of Things (IoT) has transformed the way we interact with technology, enabling devices to communicate and share data seamlessly. Raspberry Pi serves as an ideal platform for IoT projects due to its affordability, flexibility, and extensive community support. Whether you're a hobbyist or a professional, this guide will provide you with the expertise and tools needed to build and manage a remote Raspberry Pi IoT project effectively.
In this article, we’ll delve into the core aspects of Raspberry Pi IoT projects, including hardware setup, software configuration, and remote access methods. By the end of this guide, you'll have a clear understanding of how to create a functional IoT system that operates remotely and is entirely free of charge. Let’s dive in and explore the limitless possibilities of Raspberry Pi IoT!
Read also:Anthony Andrews A Journey Through Time And Talent
Table of Contents
- Introduction to Raspberry Pi IoT
- Why Choose Raspberry Pi for IoT?
- Hardware Setup for Remote Raspberry Pi IoT
- Software Configuration
- Enabling Remote Access
- Free Tools and Platforms for Remote IoT
- Securing Your Remote Raspberry Pi
- Real-World Applications of Raspberry Pi IoT
- Common Challenges and Solutions
- Conclusion
Introduction to Raspberry Pi IoT
Raspberry Pi is a small, affordable computer designed for educational and experimental purposes. It has evolved into a powerful tool for IoT projects, enabling users to connect sensors, actuators, and other devices to the internet. IoT, or the Internet of Things, refers to the network of interconnected devices that communicate and exchange data. Raspberry Pi acts as the brain of these IoT systems, processing data and facilitating communication between devices.
One of the key advantages of Raspberry Pi is its versatility. It supports various programming languages, including Python, C++, and Java, making it accessible to users with different skill levels. Additionally, its GPIO (General Purpose Input/Output) pins allow for easy integration with external hardware, enabling users to create custom IoT solutions tailored to their needs.
Why Choose Raspberry Pi for IoT?
There are several reasons why Raspberry Pi is a popular choice for IoT projects:
- Cost-Effective: Raspberry Pi boards are affordable, making them accessible to hobbyists and professionals alike.
- Community Support: With a large and active community, users can find tutorials, forums, and resources to help them troubleshoot and innovate.
- Versatility: Raspberry Pi supports a wide range of operating systems, including Raspbian, Ubuntu, and Windows IoT Core, allowing users to choose the best platform for their projects.
- Expandability: The availability of add-on boards, such as HATs (Hardware Attached on Top), enhances the functionality of Raspberry Pi.
These features make Raspberry Pi an ideal platform for building remote IoT projects, especially when working within a limited budget.
Hardware Setup for Remote Raspberry Pi IoT
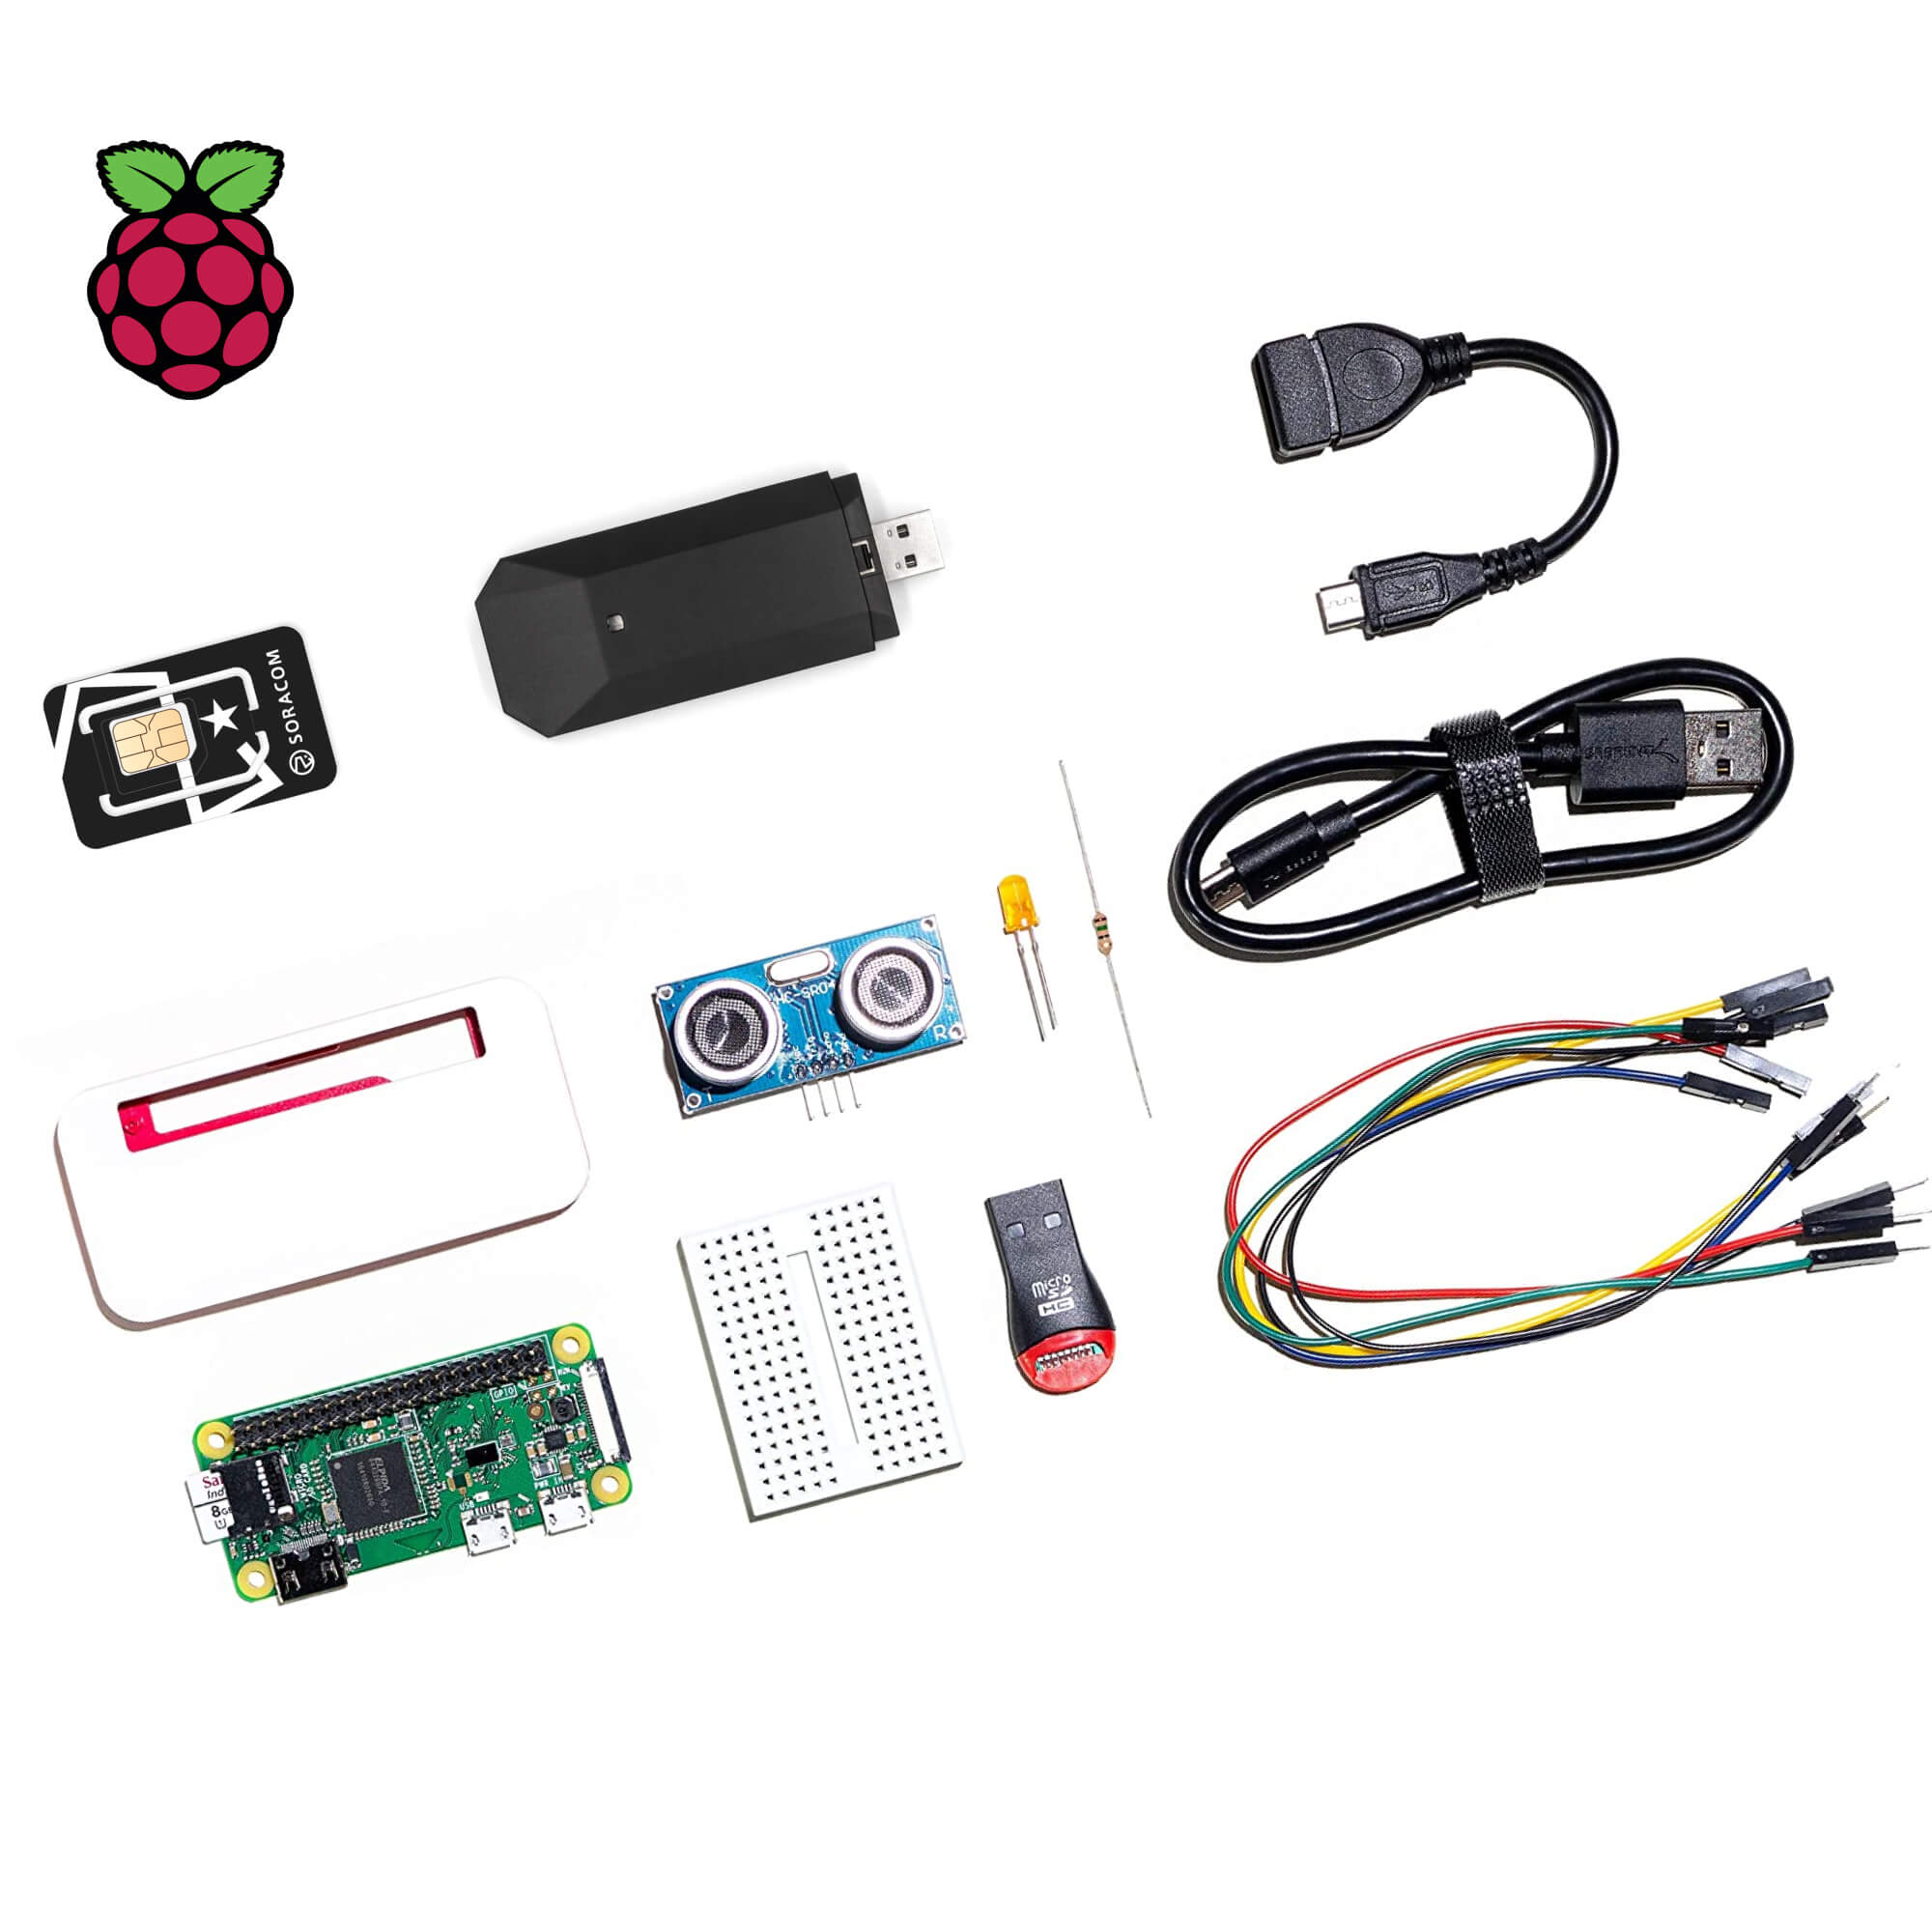
Setting up the hardware for your Raspberry Pi IoT project is the first step toward success. Here’s a breakdown of the essential components:
Essential Components
- Raspberry Pi Board: Choose a model that suits your project requirements, such as Raspberry Pi 4 or Raspberry Pi Zero.
- Power Supply: Ensure you have a reliable power source, such as a micro-USB adapter or PoE (Power over Ethernet).
- MicroSD Card: Use a high-quality microSD card to store the operating system and project files.
- Peripherals: Depending on your project, you may need sensors, actuators, or other IoT devices.
Optional Components
- Camera Module: Useful for projects involving image or video processing.
- Relay Modules: Ideal for controlling high-voltage devices.
- Enclosure: Protects your Raspberry Pi from environmental factors.
Once you have all the components, follow the manufacturer’s instructions to assemble your setup. Proper hardware configuration is crucial for ensuring the reliability and performance of your IoT project.
Read also:Unlocking The Mystery Understanding Tiktok Private Account Viewer
Software Configuration
After setting up the hardware, the next step is configuring the software. This involves installing the operating system, setting up network connectivity, and installing necessary libraries and tools.
Installing the Operating System
Raspbian, a Debian-based OS, is the most popular choice for Raspberry Pi. To install Raspbian:
- Download the Raspbian image from the official Raspberry Pi website.
- Use a tool like Etcher to flash the image onto your microSD card.
- Insert the microSD card into your Raspberry Pi and power it on.
Configuring Network Connectivity
For remote IoT projects, network connectivity is essential. You can connect your Raspberry Pi to the internet using Wi-Fi or Ethernet. To configure Wi-Fi:
- Access the Raspberry Pi terminal.
- Edit the
wpa_supplicant.conffile to add your Wi-Fi credentials. - Restart the Raspberry Pi to apply the changes.
Enabling Remote Access
Remote access allows you to control and monitor your Raspberry Pi IoT project from anywhere. Here are some popular methods for enabling remote access:
SSH (Secure Shell)
SSH is a secure protocol for accessing your Raspberry Pi remotely. To enable SSH:
- Open the Raspberry Pi configuration tool.
- Enable SSH under the "Interfaces" tab.
- Use an SSH client, such as PuTTY, to connect to your Raspberry Pi using its IP address.
VNC (Virtual Network Computing)
VNC provides a graphical interface for remote access. To set up VNC:
- Install the VNC server on your Raspberry Pi.
- Enable VNC in the Raspberry Pi configuration tool.
- Use a VNC viewer to connect to your Raspberry Pi.
Free Tools and Platforms for Remote IoT
Several free tools and platforms can enhance the functionality of your Raspberry Pi IoT project:
Home Assistant
Home Assistant is an open-source home automation platform that integrates seamlessly with Raspberry Pi. It supports a wide range of IoT devices and provides a user-friendly interface for managing your smart home.
ThingSpeak
ThingSpeak is a cloud-based platform for IoT analytics. It allows you to collect, analyze, and visualize data from your Raspberry Pi IoT project in real-time.
Blynk
Blynk is a mobile app that lets you create custom dashboards for controlling and monitoring your IoT devices. It supports Raspberry Pi and offers a free tier for small projects.
Securing Your Remote Raspberry Pi
Security is a critical aspect of any IoT project. Here are some tips for securing your remote Raspberry Pi:
- Change Default Passwords: Always change the default username and password to prevent unauthorized access.
- Enable Firewall: Use a firewall to restrict incoming and outgoing traffic.
- Keep Software Updated: Regularly update your operating system and installed software to patch vulnerabilities.
- Use Encryption: Encrypt sensitive data to protect it from interception.
Real-World Applications of Raspberry Pi IoT
Raspberry Pi IoT projects have a wide range of applications across various industries:
- Smart Home Automation: Control lighting, temperature, and security systems remotely.
- Agriculture: Monitor soil moisture, weather conditions, and crop health.
- Healthcare: Track patient vitals and manage medical devices remotely.
- Industrial Automation: Monitor equipment performance and optimize production processes.
Common Challenges and Solutions
While Raspberry Pi IoT projects offer numerous benefits, they also come with challenges. Here are some common issues and their solutions:
Connectivity Issues
Unstable internet connections can disrupt your IoT project. To address this:
- Use a wired Ethernet connection for better stability.
- Implement offline functionality to ensure the system works even without internet access.
Power Supply Problems
Inadequate power supply can cause performance issues. To prevent this:
- Use a high-quality power adapter with sufficient amperage.
- Avoid overloading the Raspberry Pi with too many peripherals.
Conclusion
Building a remote Raspberry Pi IoT project is an exciting and rewarding endeavor. With its affordability, versatility, and extensive community support, Raspberry Pi is the perfect platform for creating innovative IoT solutions. By following the steps outlined in this guide, you can set up and manage a remote IoT project without incurring additional costs.
We hope this article has provided you with the knowledge and tools needed to succeed in your Raspberry Pi IoT journey. If you found this guide helpful, feel free to share it with others or leave a comment below. For more articles on Raspberry Pi and IoT, explore our website and stay updated with the latest trends and technologies. Happy building!